
Watch the complete tutorial
AL2 controls and mounting reference
| Task | Control or location | What to check |
|---|---|---|
| Connect AL2 | E3; slide in from rear | Connector seated, latch engaged, side screws secured |
| Lighting | Flood / Spotlight / All | Beam area and brightness |
| Strobe | Slow Flash / Fast Flash / Alternating | Selected pattern |
| Aim with camera | Left dial; Follow Gimbal Orientation | Follow re-enables after restart |
| Correct alignment | Gimbal Calibration / Adjust Gimbal | Level aircraft and clear rotation space |
Unfold and mount the spotlight
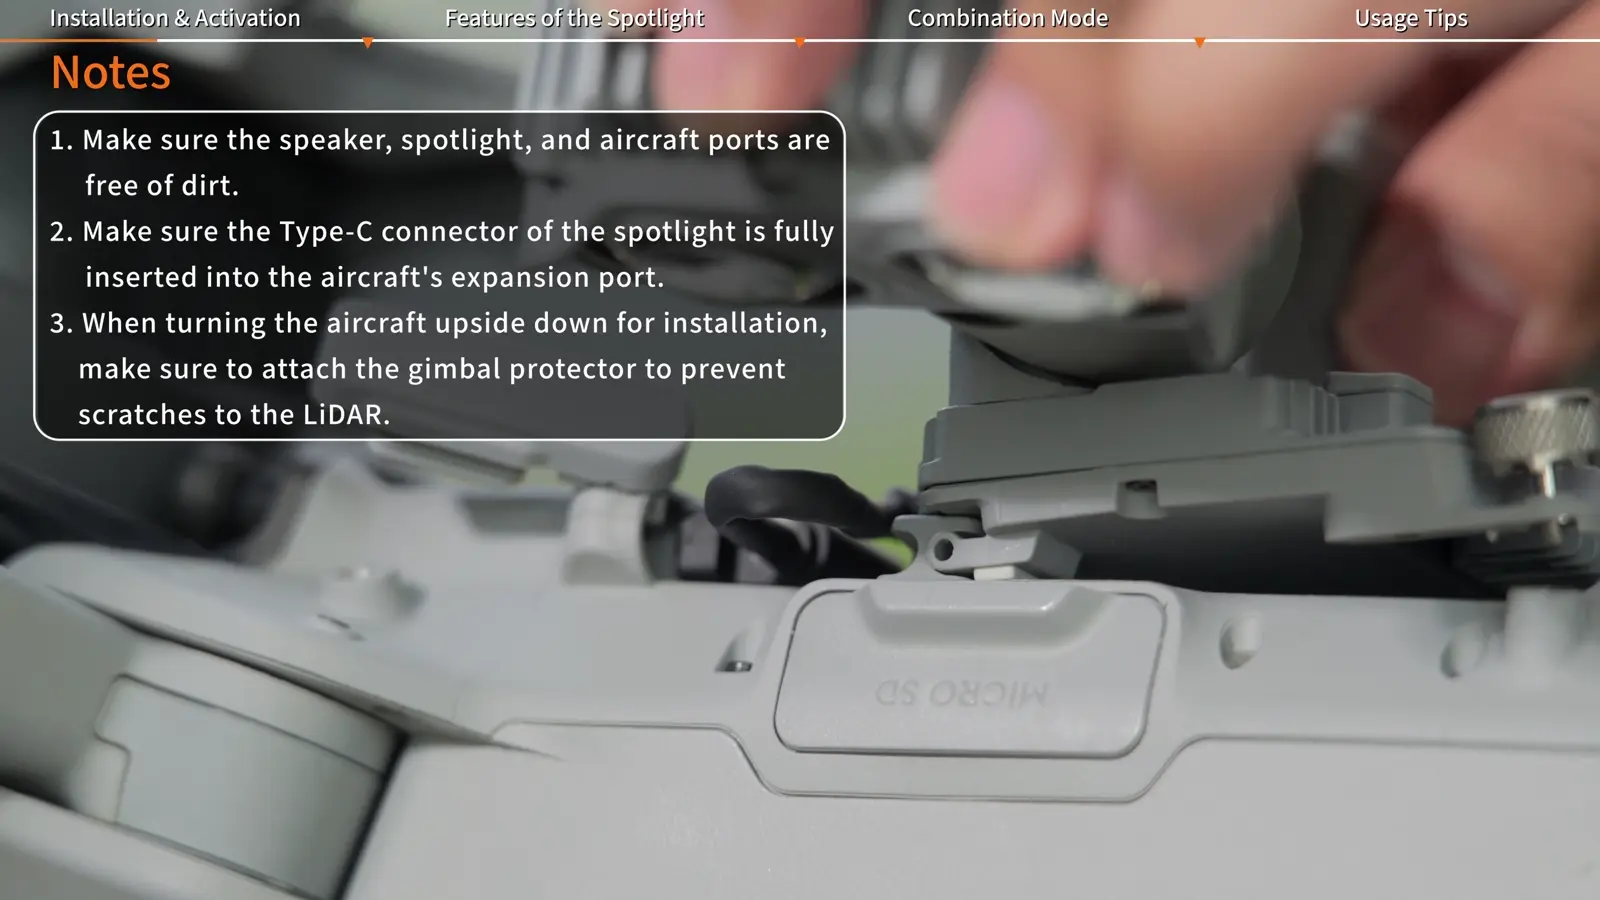
Unfold the gimbal arms on both sides of AL2. The on-screen installation notes call for clean accessory ports and the gimbal protector to be fitted when the aircraft is turned upside down, protecting the LiDAR during the work.
AL2 uses E3 on the bottom of the aircraft and slides in from the rear. This differs from AS2, which uses E2 and slides in from the front. Keep those two mounting sequences distinct when assembling a combined kit.
- Unfold both spotlight gimbal arms and check the ports are clean.
- Fit the gimbal protector before turning the aircraft over for installation.
- Insert the Type-C connector fully into E3.
- Slide AL2 in from the rear until it engages the retaining latch.
- Tighten the screws on both sides using the supplied tool.
Activate AL2 and review its status
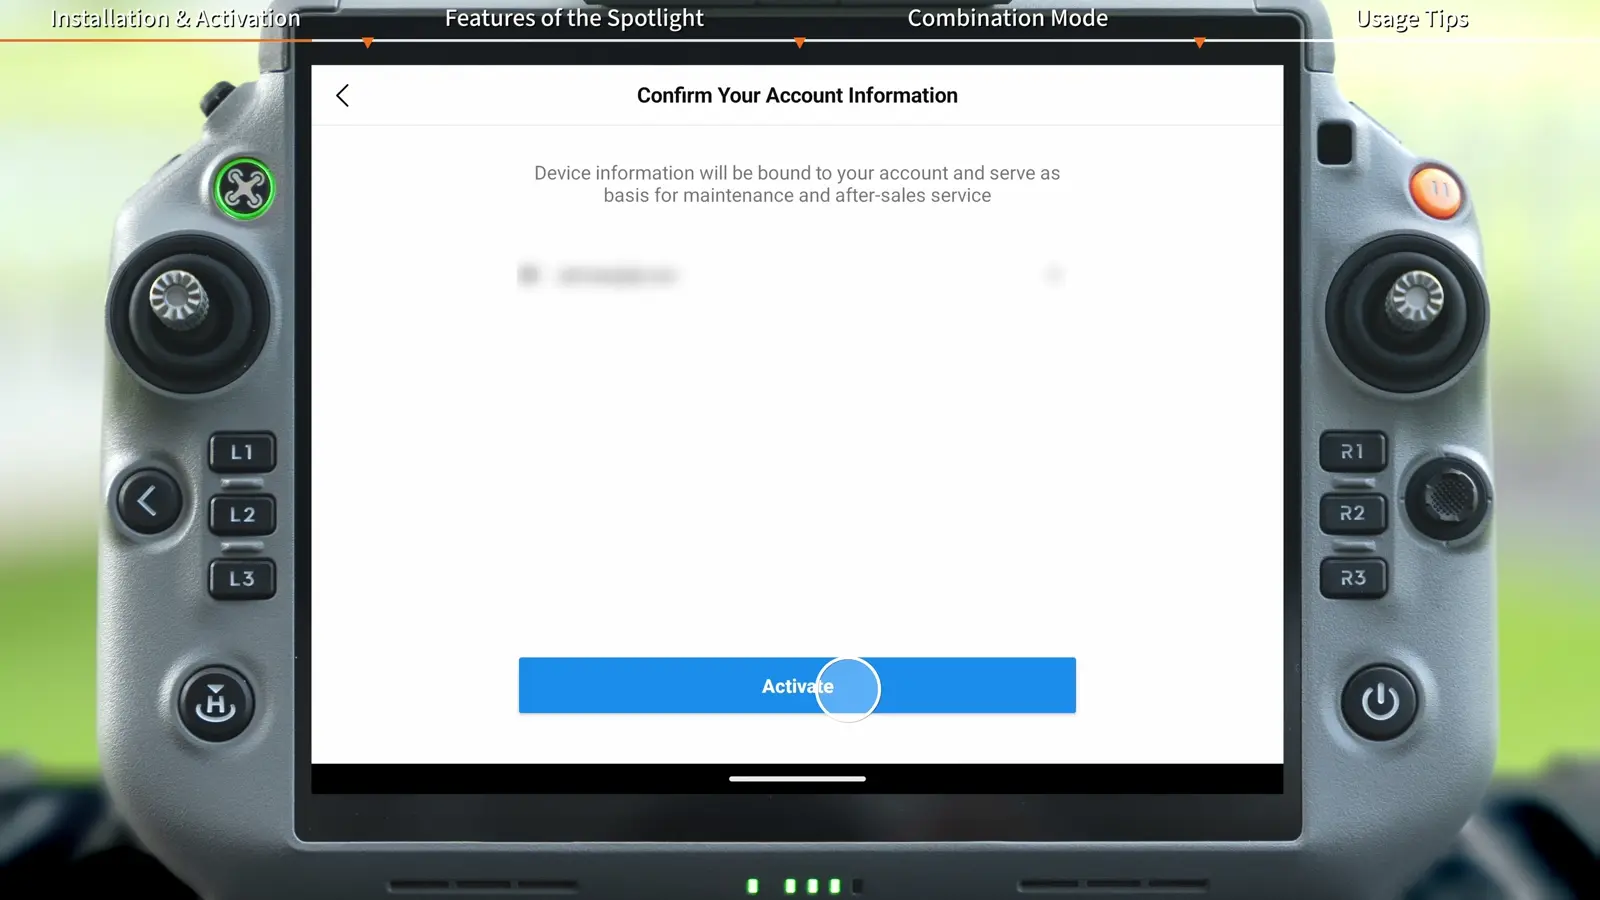
Power on the controller and aircraft, then launch DJI Pilot 2. The activation page appears on first use. Work through the prompts and check the homepage for the spotlight information; that is the connection confirmation shown in the tutorial.
The video also shows a firmware-update note. If Pilot 2 prompts for an update, prepare sufficient battery and follow the on-screen sequence to update the devices before proceeding.
- Complete the first-use activation prompts.
- Confirm AL2 appears on the Pilot 2 homepage.
- Complete any prompted firmware update with the equipment powered throughout.
Choose lighting, strobe and brightness
In camera view, tap the spotlight icon on the left. The panel separates Lighting and Strobe. Lighting offers Flood, Spotlight and All; the strobe choices shown are Slow Flash, Fast Flash and Alternating. Compare the selected pattern and brightness with the actual camera view.
- Open the spotlight panel in camera view.
- Choose Lighting or Strobe.
- Select the lighting area or flash pattern for the task.
- Use the power and brightness controls shown in the panel.
Aim with the camera and manage Follow Gimbal Orientation
With follow enabled, the left controller dial changes the tilt of both the camera gimbal and spotlight together. Open Settings and use Follow Gimbal Orientation to enable or disable this behaviour.
The on-screen note explains that the left dial no longer adjusts the spotlight tilt after follow is disabled. Set the desired tilt before disabling it. The function re-enables automatically when the aircraft restarts, so include a follow-setting check in the next startup.
- Use the left dial to aim the camera and spotlight together.
- Open Spotlight Settings to change Follow Gimbal Orientation.
- Set the spotlight angle before disabling follow.
- Recheck the setting after an aircraft restart.
Calibrate the spotlight gimbal on the ground
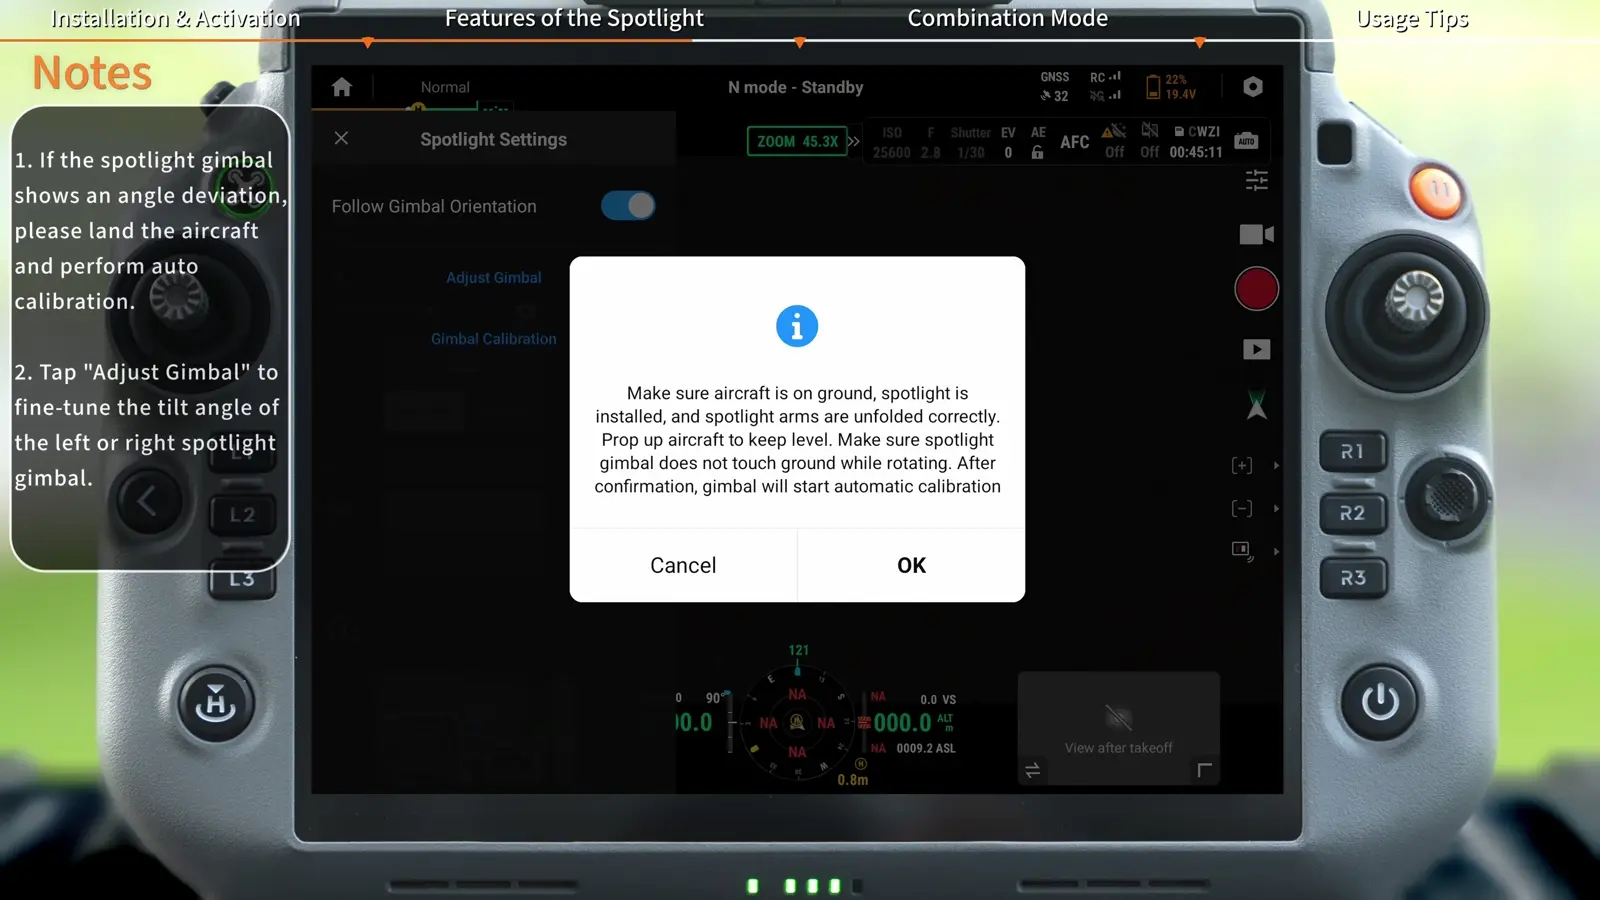
If the spotlight angle is offset, land and use Gimbal Calibration. The on-screen prompt calls for the aircraft to be level, the spotlight installed and its arms correctly unfolded. Support the rear landing gear so the spotlight can rotate without touching the ground.
Adjust Gimbal provides fine adjustment of the left or right spotlight's tilt. Keep that alignment task separate from compass calibration, which appears later in the combined-accessory workflow.
- Place the aircraft on the ground and support it level with rotation clearance.
- Open Gimbal Calibration and confirm the setup prompt.
- Keep the aircraft still through automatic calibration.
- Confirm Calibrated gimbal successfully.
- Use Adjust Gimbal for the demonstrated left/right tilt fine-tuning.
Combine AL2 with the AS2 Speaker
Install the spotlight first, then the speaker, so the speaker latch leaves the spotlight cable clear. Power on the equipment and confirm both accessories appear on the Pilot 2 homepage.
The combination-mode notes call for compass recalibration after replacing the speaker or adding a spotlight. Follow the app's calibration prompts and keep hands off the speaker during the calibration process.
- Install AL2 before AS2 and inspect the cable routing.
- Power on and confirm both accessory entries.
- Complete the prompted aircraft compass calibration.
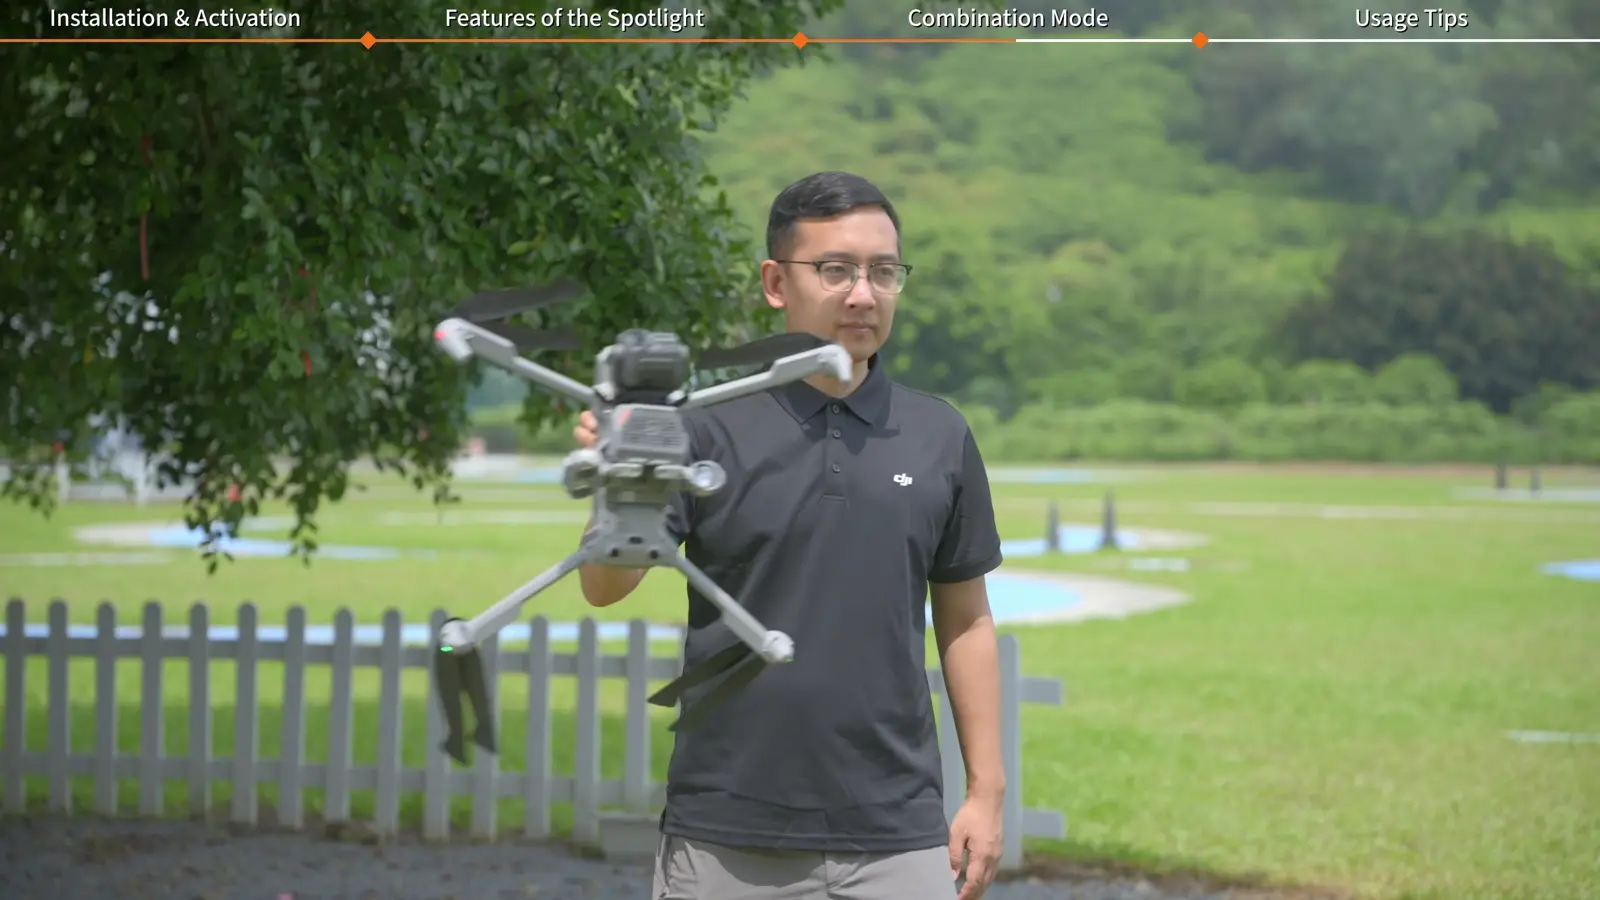
Remove the connector or pack with AL2 attached
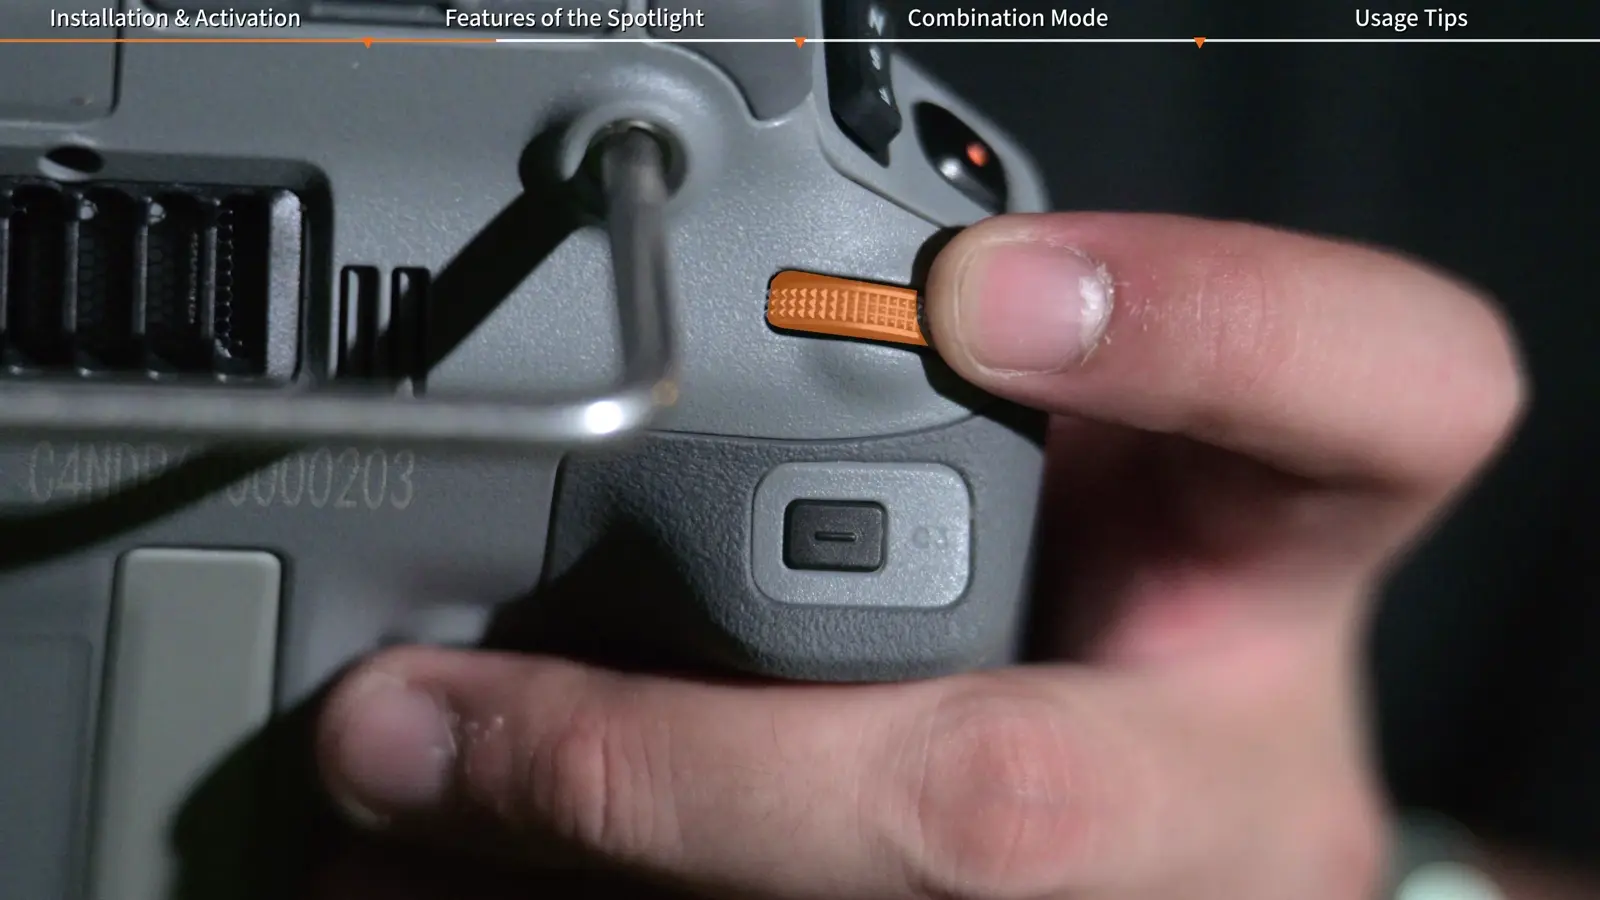
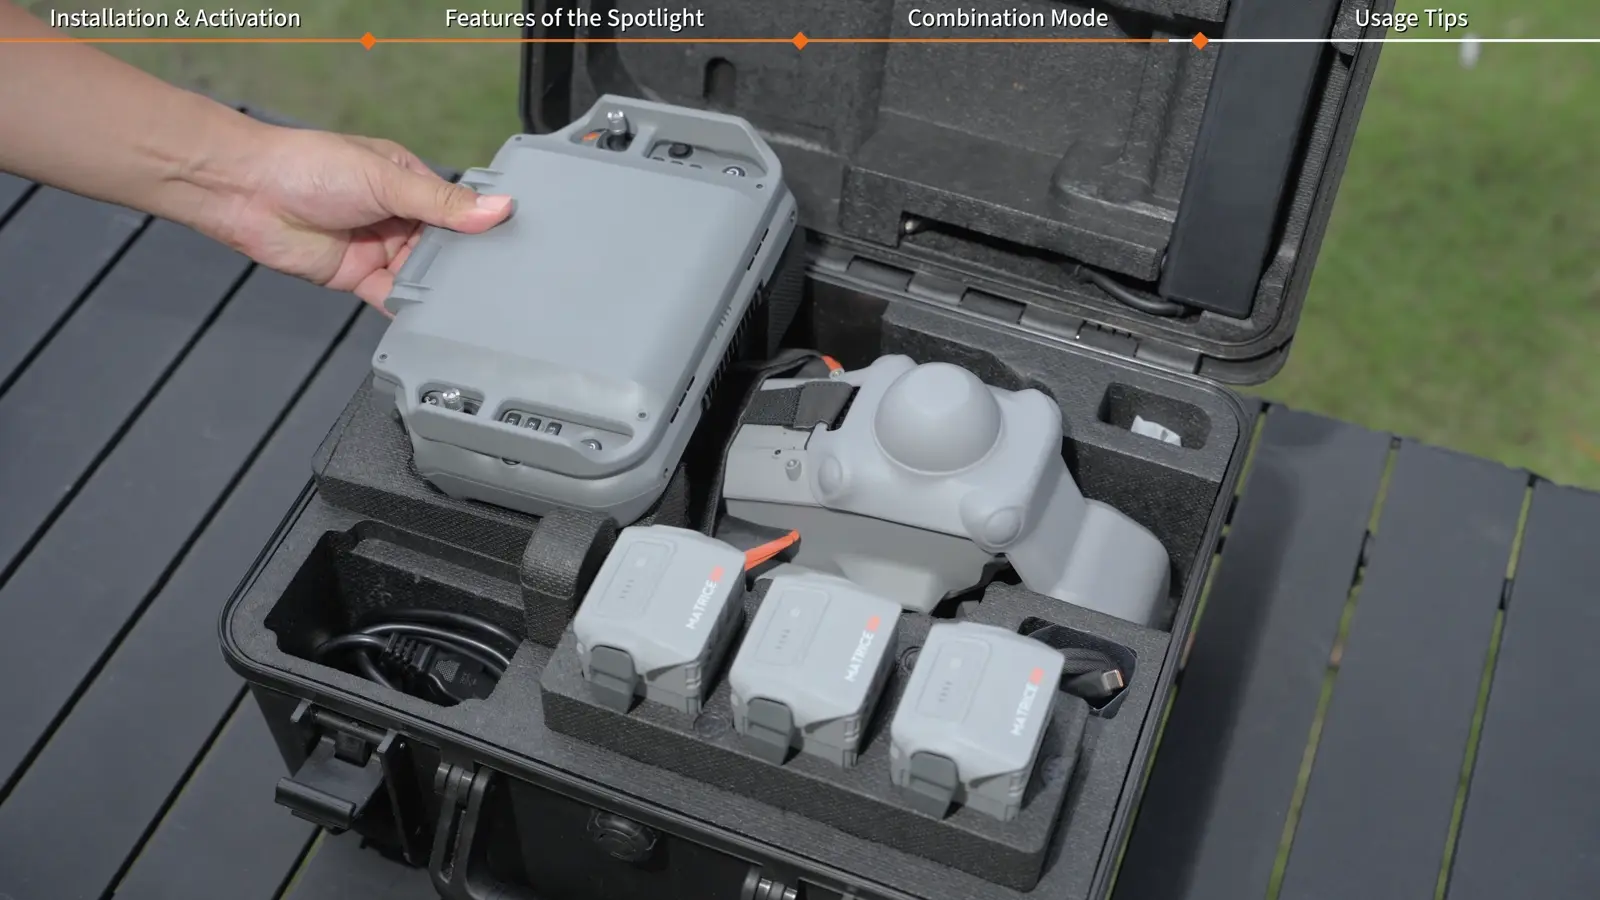
For the demonstrated removal sequence, fold the spotlight with its LEDs facing down, push the Type-C connector out in the indicated direction and close the aircraft port cover. The video also shows storing the aircraft in its case with AL2 attached.
Build the lighting check into the crew's normal setup: aim the beam away from people's eyes, account for the spotlight's effect on the vision system, and give the light time to cool after prolonged use before handling. These are operating details shown in the final usage notes.
- Fold the spotlight into its transport orientation.
- Follow the shown connector-removal direction when disconnecting it.
- Close the port's protective cover.
- Check the folded assembly and case fit before transport.
Your session checklist
Use these points to review the workflow with your crew.
- E3 connector seated; rear latch engaged; screws secured
- Activation complete and AL2 visible in Pilot 2
- Lighting or strobe mode and brightness selected
- Follow Gimbal Orientation checked after startup
- Gimbal movement clear and calibration complete where needed
- AL2 fitted before AS2; prompted compass calibration completed
- Transport orientation and cooling checked
Questions & answers
Which aircraft port does AL2 use?
The spotlight connects to E3 on the bottom of Matrice 5T and slides into its mount from the rear. AS2 uses E2 and slides in from the front.
Why does the left dial stop moving the spotlight?
When Follow Gimbal Orientation is disabled, the left dial no longer adjusts spotlight tilt. Set the angle before disabling follow; the function automatically re-enables after an aircraft restart.
How do I correct an AL2 gimbal-angle offset?
Land the aircraft and use Gimbal Calibration with the aircraft level and the spotlight clear to rotate. Adjust Gimbal offers fine adjustment of the left or right spotlight tilt.
Can AL2 remain fitted in the carrying case?
Yes. The tutorial shows storing the aircraft in the carrying case with the spotlight attached and folded into its transport orientation.
Video transcript
Read the complete transcript
Welcome to our tutorial video for DJI Matrice 5T, where we will show you how to use DJI AL2 Spotlight.
Unfold the gimbal arms on both sides of the spotlight.
Insert the type-C connector of the spotlight into the E3 port on the bottom of the aircraft
and make sure it is fully seated.
Slide the spotlight in from the rear of the aircraft
until it snaps into the retaining latch on the aircraft body.
Use the tool provided in the package to tighten the screws on both sides of the spotlight.
Power on the remote controller and the aircraft
and launch DJI Pilot 2.
An activation page will pop up the first time you use the spotlight.
Please follow the on-screen instructions to activate it.
When the app's home page shows the spotlight information,
it means the spotlight is successfully connected and ready for use.
Enter the camera view,
tap the spotlight icon on the left, and select strobe or lighting.
Tap the switch button brightness icon to adjust the spotlight brightness.
During use, use the left dial on the remote controller to adjust the tilt angle of both the camera gimbal and the spotlight at the same time, so that the spotlight follows the camera gimbal.
Tap the Settings icon, then tap the Follow Gimbal Orientation switch to enable or disable this function.
Tap the gimbal calibration icon and the gimbal will start auto calibration. During calibration,
prop up the rear landing gear of the aircraft to make sure the rotation area of the Spotlight
gimbal is free of obstructions. Make sure to install the Spotlight first and then the speaker
so that the latch of the speaker does not pinch the cable of the spotlight.
Power on the remote controller and the aircraft.
Launch DJI Pilot 2.
When the app's home page shows the spotlight and speaker information,
it means they are successfully connected and ready for use.
If the app prompts for calibration,
you need to recalibrate the aircraft's compass.
Make sure not to touch the speaker during the calibration process to avoid calibration failure.
To remove the spotlight, fold it with its LEDs facing down, push out the Type-C connector in the direction of the arrow,
and close the protective cover of the aircraft port.
You can store the aircraft in the carrying case with the spotlight attached.
Thank you for watching.