Watch the complete tutorial
Seat the connector and secure the speaker
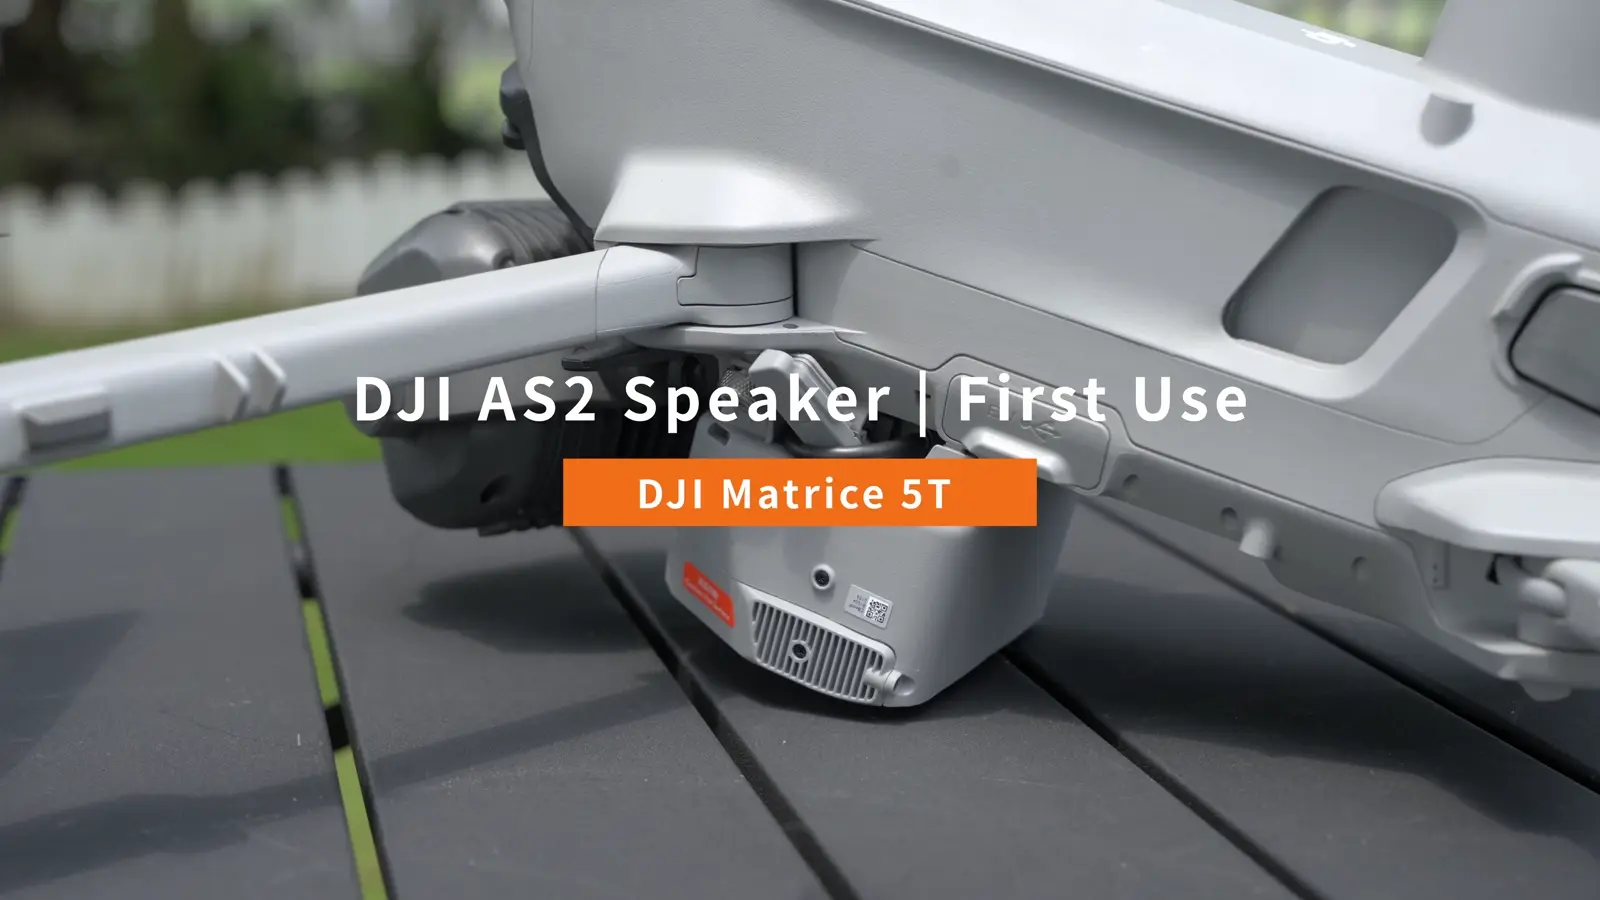
The installation combines an electrical connection and a mechanical latch. Seat the Type-C connector in E2 before sliding the speaker into position. Use the supplied tool for the side screws and inspect the completed fit before starting the aircraft.
Fit the gimbal protector when turning the aircraft for installation to protect the LiDAR, and check the speaker, spotlight and aircraft ports are clean.
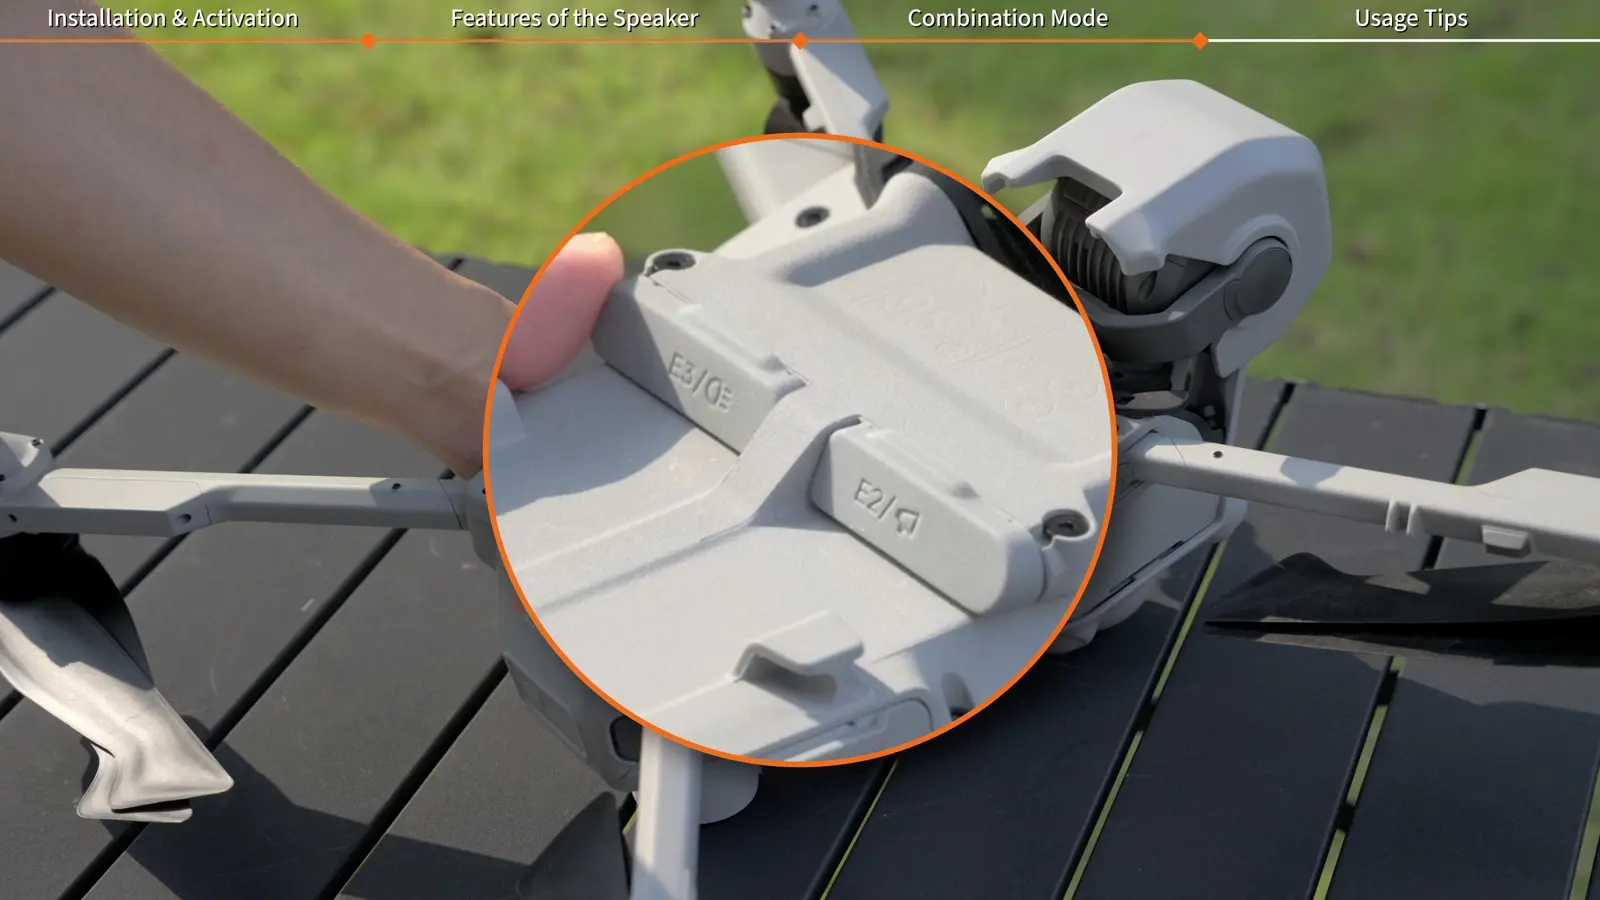
- Insert the speaker's Type-C connector fully into the E2 port on the bottom of the aircraft.
- Slide the speaker in from the front until it snaps into the retaining latch.
- Tighten the screws on both sides with the supplied tool.
Activate AS2 and complete calibration
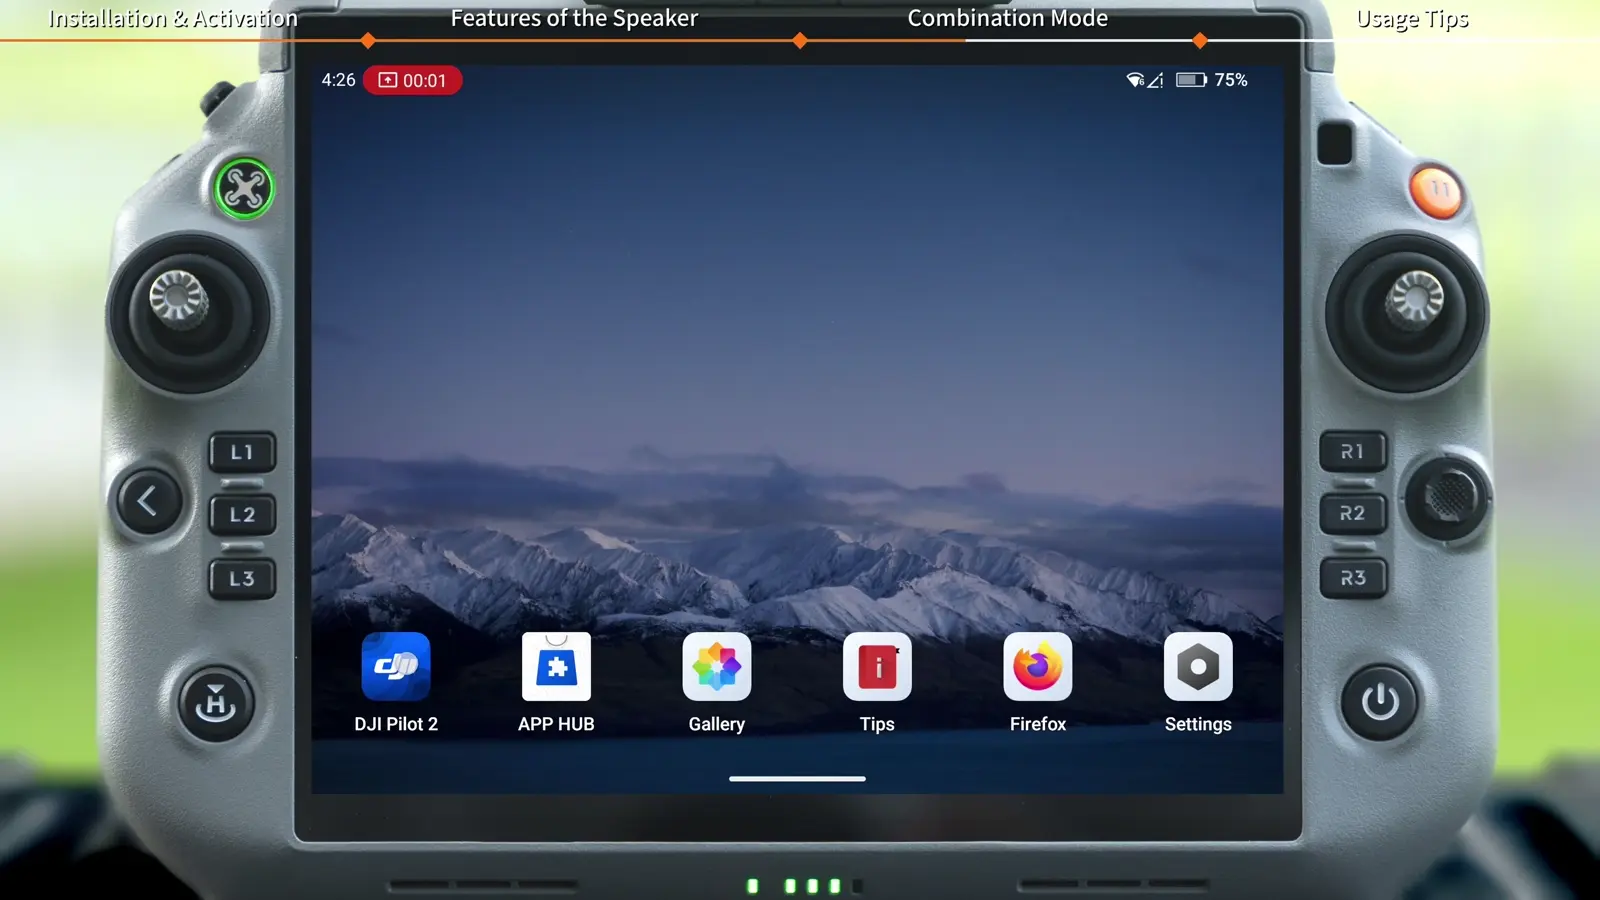
Power on the controller and aircraft, then open DJI Pilot 2. On first use, the activation page appears automatically. The speaker information on the homepage confirms that the accessory is connected.
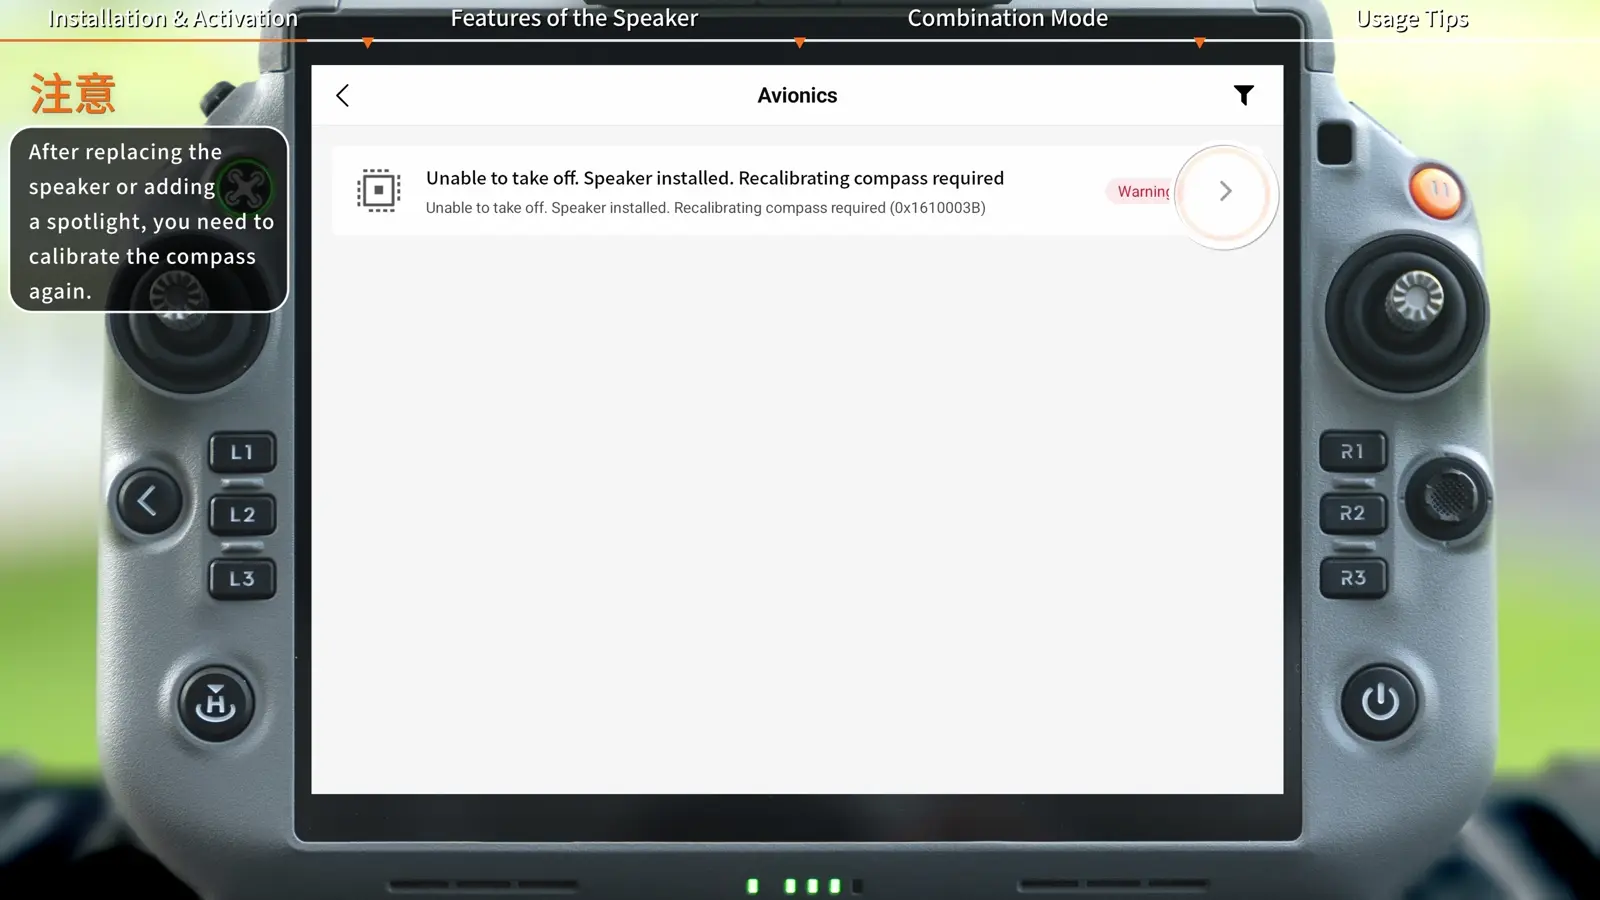
On first installation or replacement, follow the warning message to calibrate the aircraft's compass. Keep hands off the speaker during this calibration, as demonstrated, and allow the process to finish before continuing.
If the app requests a firmware update, prepare sufficient battery and follow the update-all-devices sequence before using the accessory.
- Complete the on-screen activation.
- Confirm that the homepage displays speaker information.
- Follow the compass-calibration prompt for a first installation or replacement.
Broadcast live with Tap to Talk
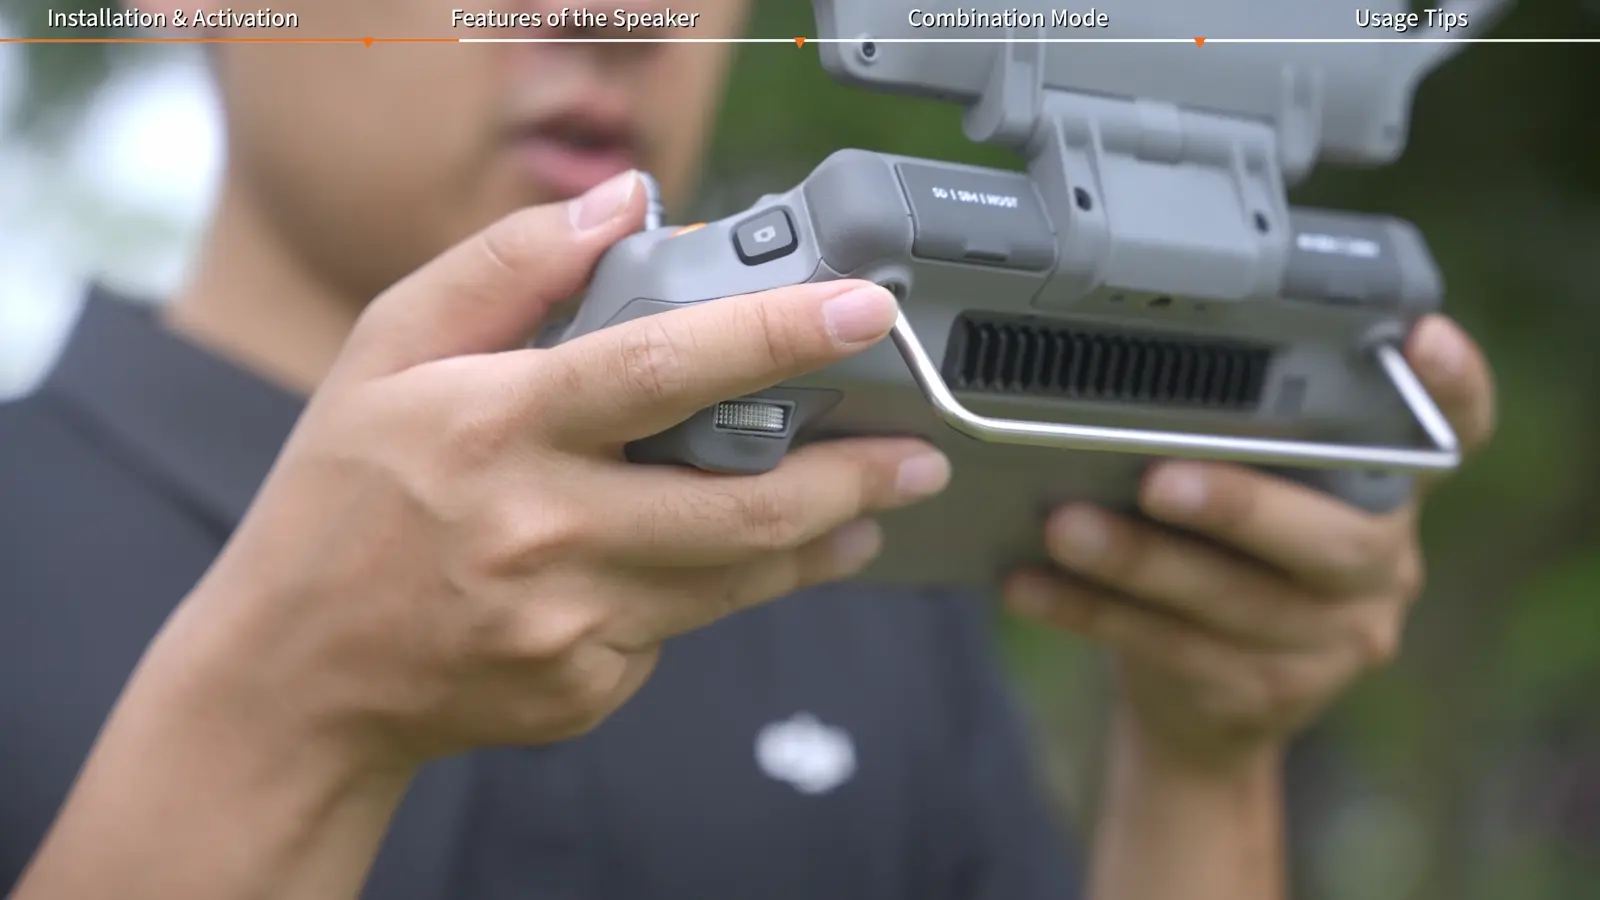
Open Speaker and use Tap to Talk for real-time broadcasting through the controller's built-in microphone. The tutorial identifies this microphone at the bottom of the controller. Position your speech toward that microphone and use short instructions with one clear action at a time.
SkyFlow's suggested message structure is: identify who the message addresses, give the action, then state where or when to act. Prepare wording with the crew before launch so the pilot can select or deliver it without composing a long message during flight.
Face the controller and speak at a steady pace. For a close-range or indoor test, the on-screen instructions set the volume at 30 or lower. Plan normal broadcasts with separation from people and attention to nearby noise-sensitive areas.
- Tap Speaker, then Tap to Talk.
- Speak into the microphone at the bottom of the controller.
Record, preview and play a message
The recording workflow includes a local preview before the audio is sent to the aircraft speaker. Use that preview to check wording and intelligibility, then broadcast the approved recording.
- Tap Select File to Broadcast → Create Recording.
- Speak into the controller's bottom microphone and tap End to finish.
- Tap the Headphones icon to listen through the controller's built-in speaker.
- Tap Play to upload and play the recording through AS2.
- During playback, adjust volume, enable loop play or stop the message as needed.
Import audio and organize a message library
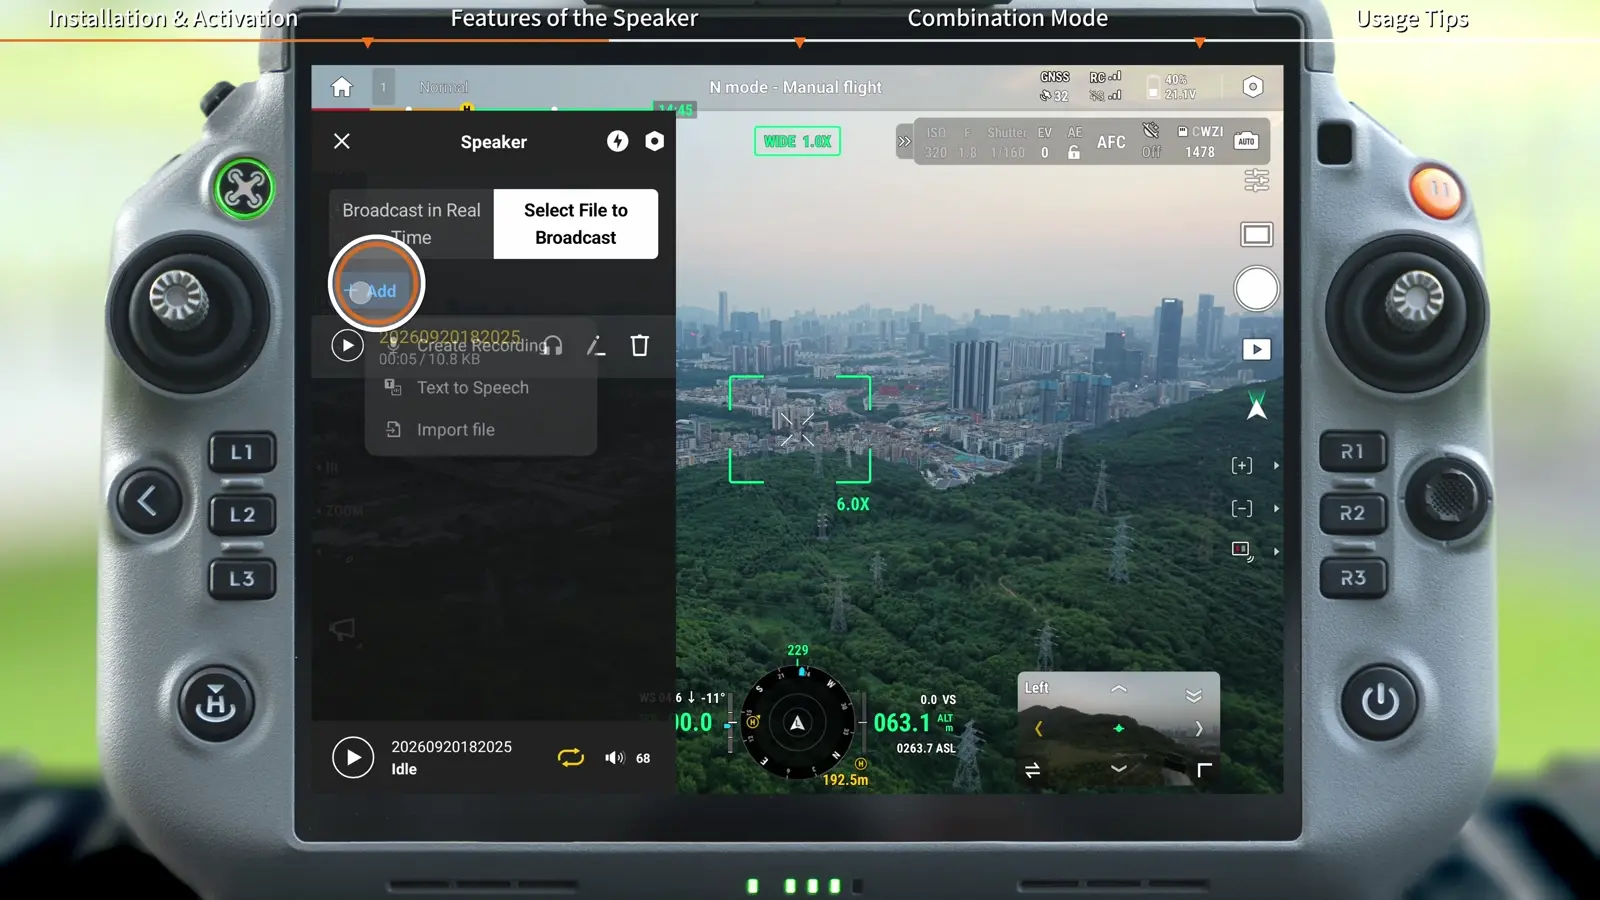
The import function reads files from controller storage or an external microSD card. Use descriptive filenames so the message is easy to select when several recordings are available. For a practical library, separate arrival instructions, directional guidance and completion messages.
The Add menu also shows Text to Speech alongside Create Recording and Import file. Choose the message format before the mission and preview the resulting audio so the crew can confirm the wording.
Supported imported formats are AAC, MP3 and WAV, with a maximum of 10 MB per file. Use speech recordings suited to the message; DJI’s final notes advise against single-frequency alarm sounds because they can damage the speaker.
- Tap Add → Import file.
- Choose the audio from internal storage or the microSD card.
- Tap Play to broadcast the selected file.
Choose and save warning-light effects
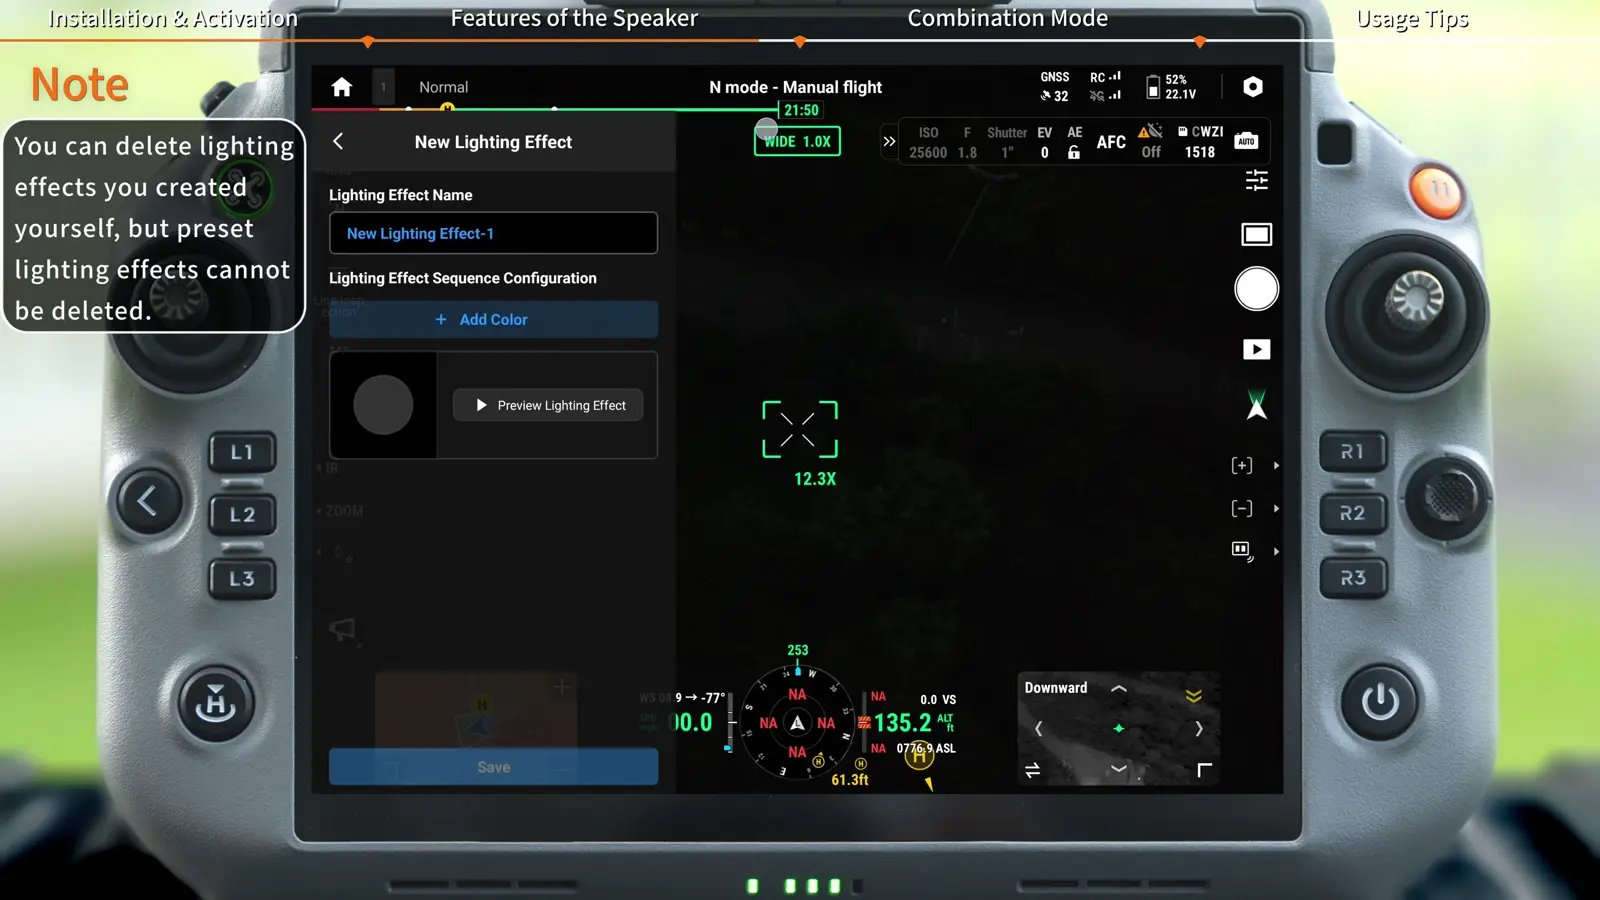
The Warning Light icon opens a separate page for the speaker's lighting effects. Select a preset or create a sequence with New Lighting Effect. A named, saved effect is easier to select consistently than rebuilding a sequence during an operation.
Custom lighting effects can be deleted after creation; the preset lighting effects remain in the library, as the on-screen note explains.
The warning light starts off on first use. Turning it on runs the selected effect; turning it off stops flashing immediately. The custom sequence screen includes colour, lighting duration, brightness, light-off duration, number of flashes and pause interval, plus a preview control.
- Tap the Warning Light icon at the top of the interface.
- Select a preset effect, or tap New Lighting Effect to customize the sequence.
- Tap Save to add the custom effect.
Install AS2 together with AL2
Install the spotlight first and the speaker second. This order keeps the speaker's latch from pinching the spotlight cable. After securing the speaker screws, power on the equipment and confirm that Pilot 2 shows both accessories.
- Fit AL2 before AS2 and check the spotlight cable routing.
- Tighten the speaker's side screws.
- Confirm both spotlight and speaker information on the Pilot 2 homepage.
- Recalibrate the compass if prompted, keeping hands off the speaker during calibration.
Remove the connection and protect the port
The removal segment shows pushing the Type-C connector out in the arrow direction, followed by closing the protective cover of the aircraft port. Watch the full mechanical sequence in the video before removal and return the connector and mounting hardware to the accessory kit.
A useful post-mission review also checks which audio files and lighting effects the crew used. Keep the successful messages in the library and revise unclear wording while the operation is still fresh.
Your session checklist
Use these points to review the workflow with your crew.
- E2 connector seated; latch engaged; screws secured
- Activation complete and speaker visible in Pilot 2
- Prompted compass calibration completed
- Bottom microphone location identified
- Recorded message previewed locally
- AL2 installed before AS2 when used together
Questions & answers
Where is the microphone used for AS2 broadcasts?
The AS2 tutorial identifies the built-in microphone at the bottom of the remote controller for both live broadcasting and recording.
How do I preview a recording before broadcasting it?
After ending the recording, tap the Headphones icon to play it through the controller’s built-in speaker. Tap Play when ready to upload and broadcast through AS2.
Which accessory goes on first, AL2 or AS2?
Install AL2 first, then AS2. DJI explains that this prevents the speaker latch from pinching the spotlight cable.
Which audio files can I import into AS2?
The tutorial supports AAC, MP3 and WAV files, with each file no larger than 10 MB. Import from controller storage or an external microSD card.
Video transcript
Read the complete transcript
Welcome to our tutorial video for DJI Matrice 5T
where we will show you how to use DJI AS2 Speaker
Insert the Type-C connector of the speaker into the E2 port on the bottom of the aircraft
and make sure it is fully seated
Slide the speaker in from the front of the aircraft until it snaps into the retaining latch on the aircraft body
Use the tool provided in the package to tighten the screws on both sides of the speaker
Power on the remote controller and the aircraft
and launch DJI Pilot 2
An activation page will pop up the first time you use the speaker
Please follow the on-screen instructions to activate it
When the app's homepage shows the speaker information
it means the speaker is successfully connected and ready for use
When installing the speaker for the first time or replacing it
tap the warning message and calibrate the aircraft's compass as prompted
Make sure not to touch the speaker during the calibration process to avoid calibration failure
Once the calibration is done
you'll be ready to use the speaker
Tap "Speaker"
"Tap to Talk" to broadcast in real time through the built-in microphone at the bottom of the remote controller
Tap "Select File to Broadcast" > "Create Recording" to start capturing audio
Speak into the built-in microphone at the bottom of the remote controller to record your message
then tap the "End" icon to finish recording
Tap the "Headphones" icon to listen locally
and the remote controller's built-in speaker will play back the recorded audio
Tap the "Play" icon
and the speaker will upload and play the recorded audio
While it is broadcasting
you can adjust the volume
enable loop play
or stop the playback
Tap "Add"
"Import file" to import audio from the remote controller's built-in storage or an external microSD card
Tap the "Play" icon to play the audio
Tap the Warning Light icon at the top to open the Warning Light page
Select a preset lighting effect as needed
Tap "New Lighting Effect" to customize the lighting effect sequence
Tap "Save" to add the custom lighting effect
Make sure to install the spotlight first and then the speaker
so that the latch of the speaker does not pinch the cable of the spotlight
Use the tool provided in the package to tighten the screws on both sides of the speaker
Power on the remote controller and the aircraft
Launch DJI Pilot 2
When the app's homepage shows the spotlight and speaker information
it means they are successfully connected and ready for use
If the app prompts for calibration
you need to recalibrate the aircraft's compass
Make sure not to touch the speaker during the calibration process to avoid calibration failure
To remove the speaker
push out the Type-C connector in the direction of the arrow
and close the protective cover of the aircraft port
Thank you for watching