
Watch the complete tutorial
Wake and start RC Plus 3 Enterprise
The controller ships in hibernation. Connecting a charger is the first step; a power-button press alone is not the complete first-use sequence. Organize charging and activation before moving to the launch area so the first flight can focus on aircraft handling.
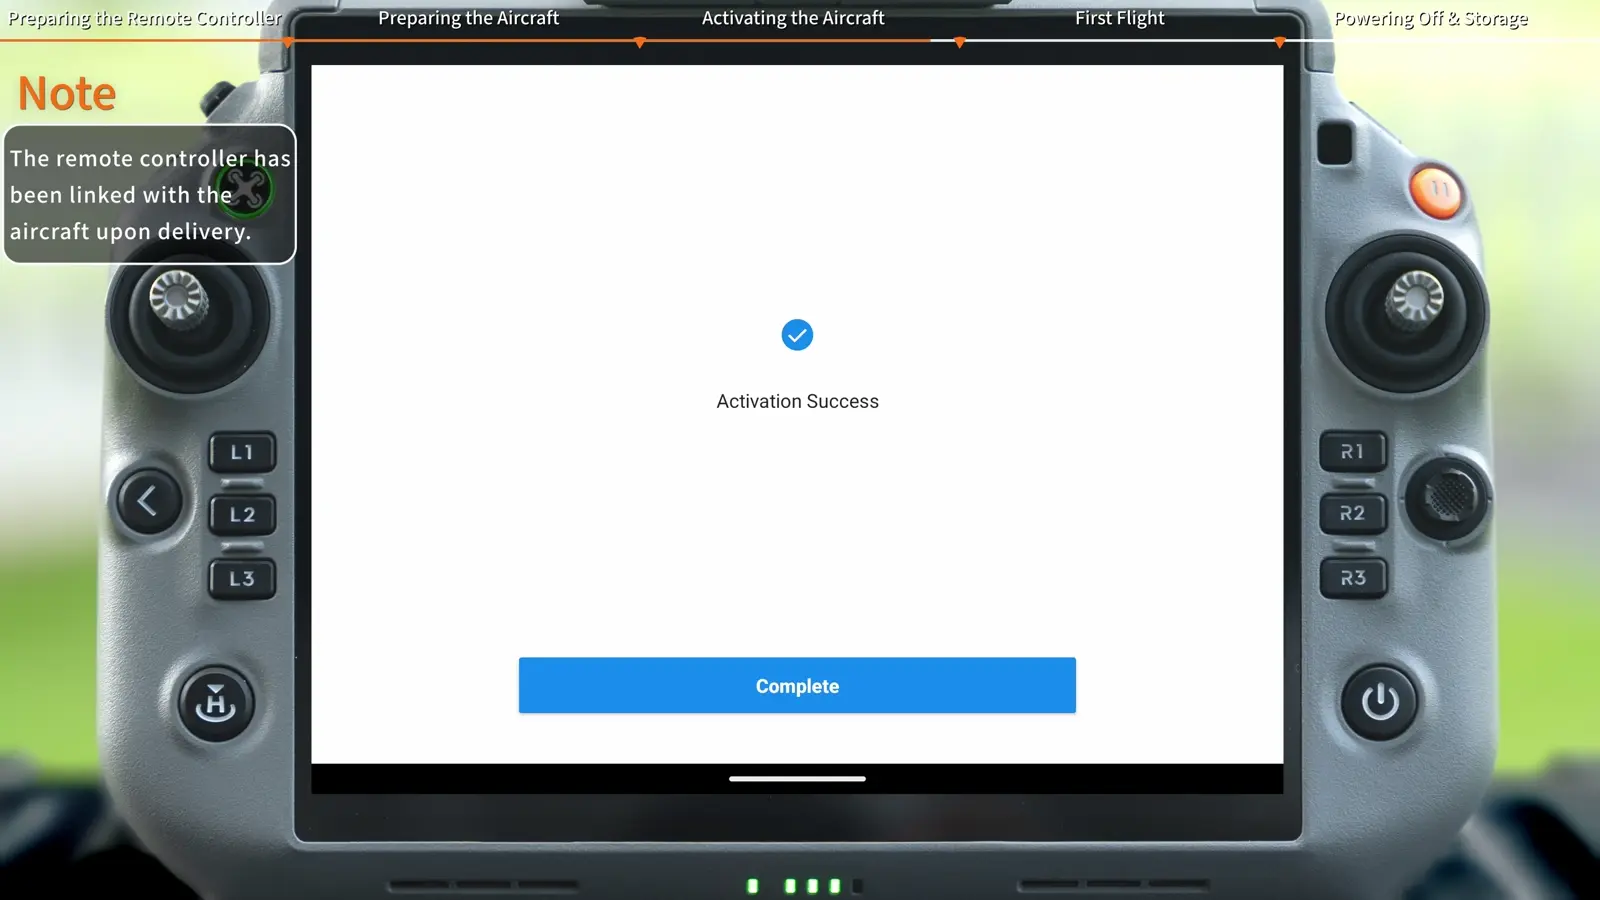
On the first startup, follow the controller activation prompts. After activation, the on-screen note explains that opening the antenna panel powers on the controller.
- Connect the controller to a charger using a USB-C to USB-C cable to wake it.
- Press the power button once, then press and hold it for three seconds to start the controller.
- Open the upper-right protective cover to locate the microSD and SIM card slots.
Remove the protector and unfold the aircraft
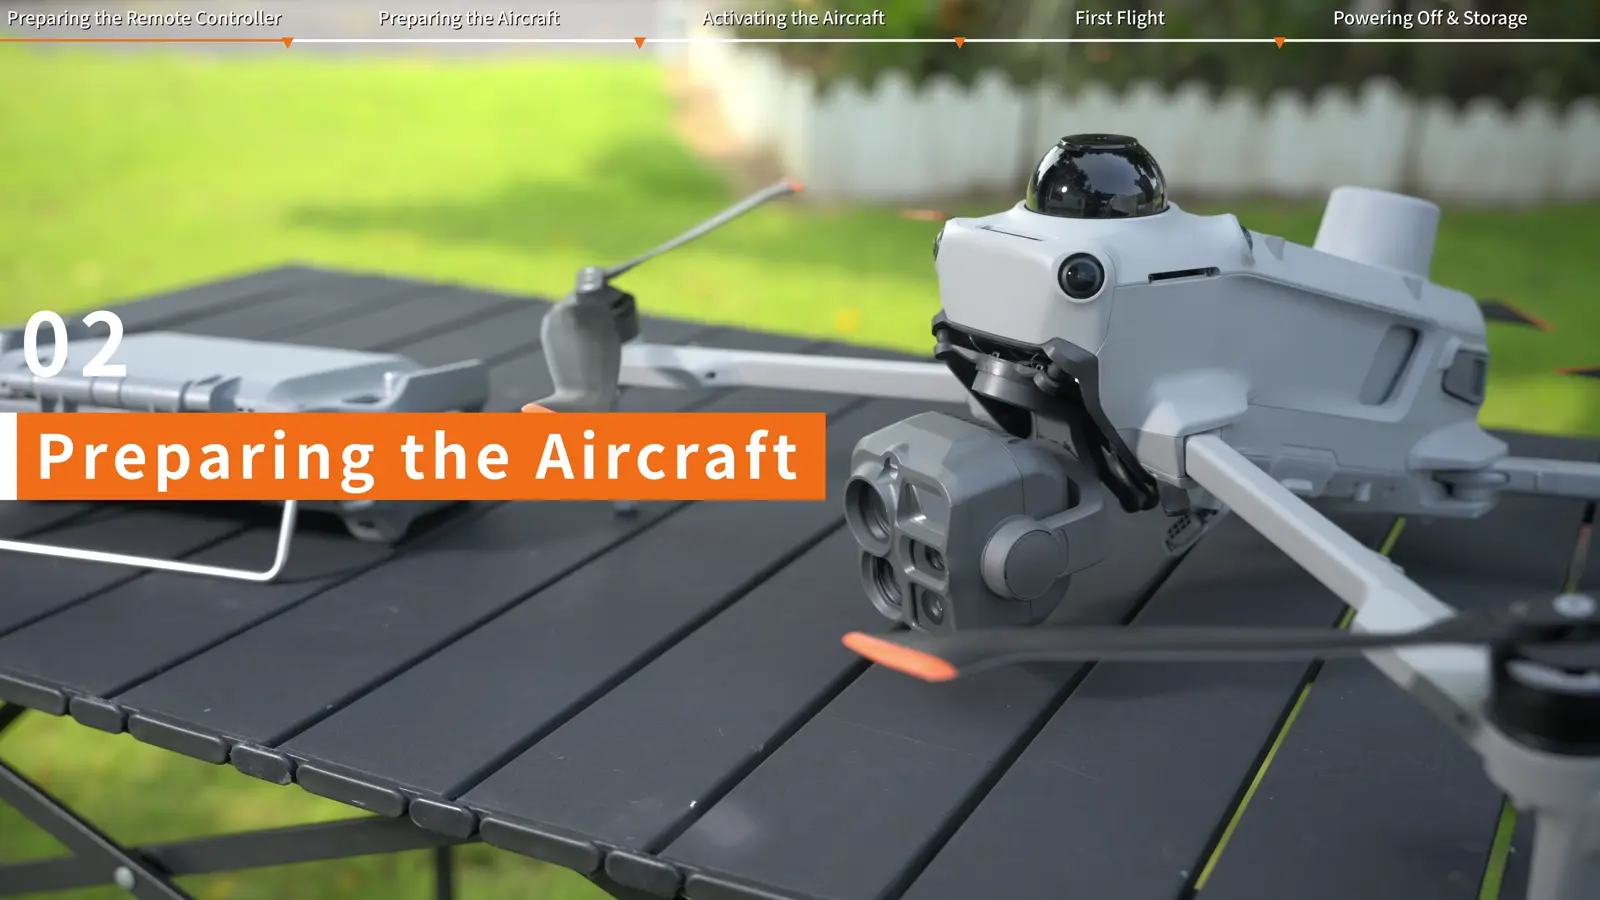
The gimbal protector uses a hook-and-loop strap and a shaped upper section. Remove it before powering the aircraft so the camera assembly has room to move. Keep it with the case for pack-down rather than leaving it in the launch area.
- Release the protector strap.
- Gently pull the upper part away to detach the protector, then remove it.
- Unfold the front arms first, followed by the rear arms, as specified in the on-screen note.
Match and lock each propeller
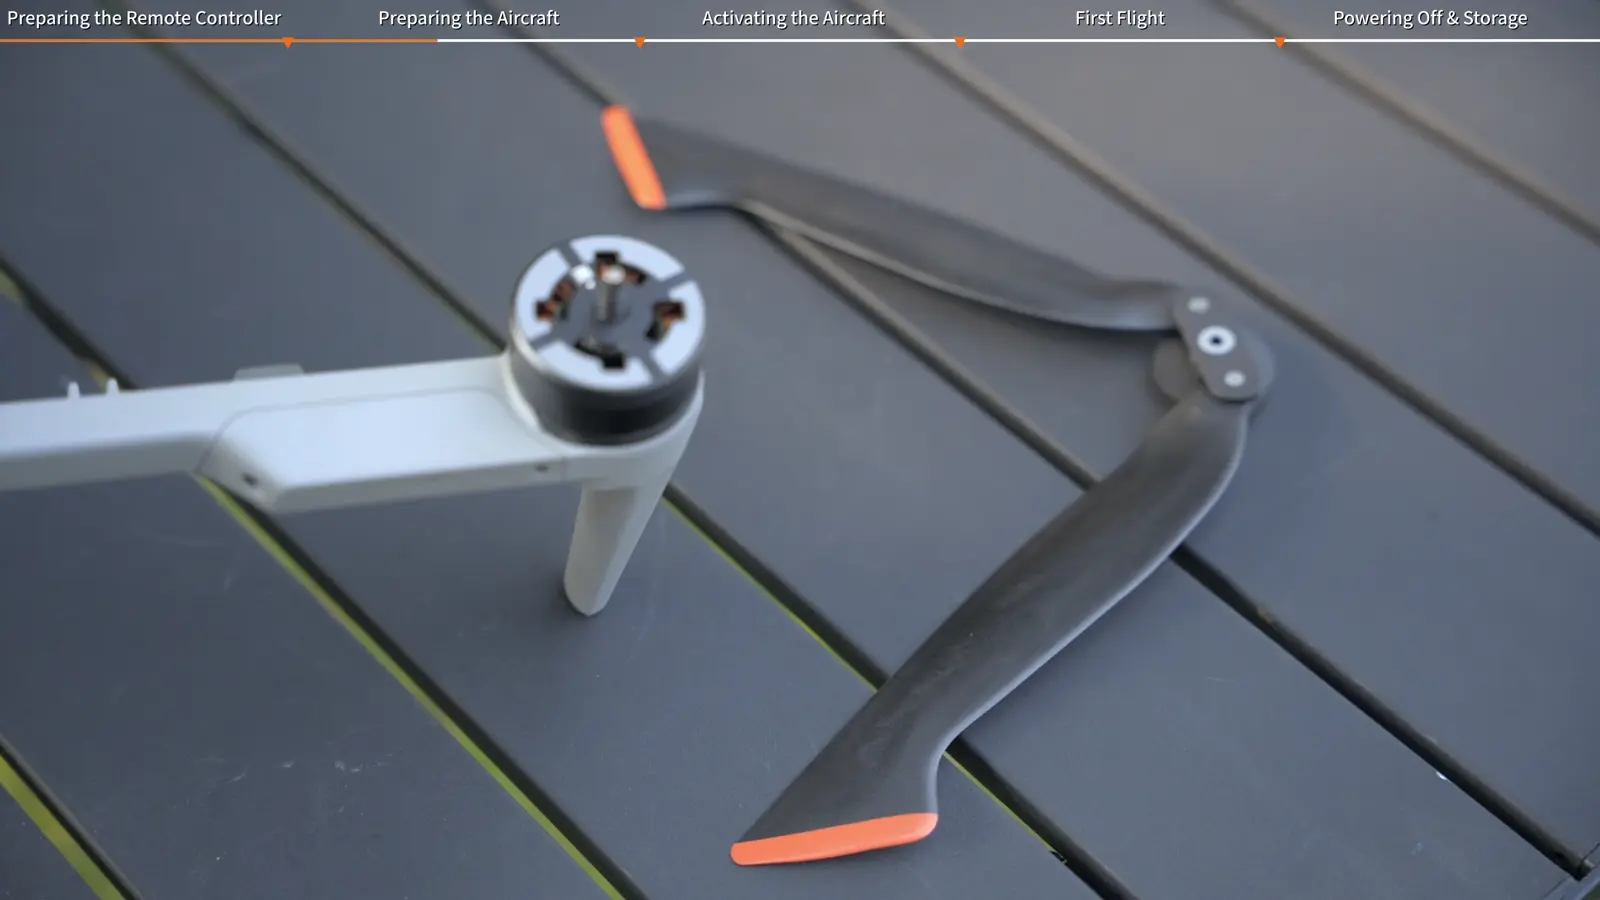
The A/B markings identify the matching motor. A propeller with a grey circle at its centre belongs on a motor with a grey arc at its outer edge. A propeller without the circle belongs on a motor without the arc. Use the markings to make the match before pressing the propeller into place.
- Identify the grey-circle A propellers and the unmarked B propellers.
- Match each propeller to the corresponding marked or unmarked motor.
- Press the propeller fully down and rotate it in the locking direction until it rises into the locked position.
- Check the seating of every propeller before continuing.
Seat the battery and activate in Pilot 2
Install the flight battery while it is powered off. The battery buckles provide the mechanical confirmation that it is seated. Activation then associates the aircraft with the account shown in DJI Pilot 2, so review that account as part of the handover to your team.
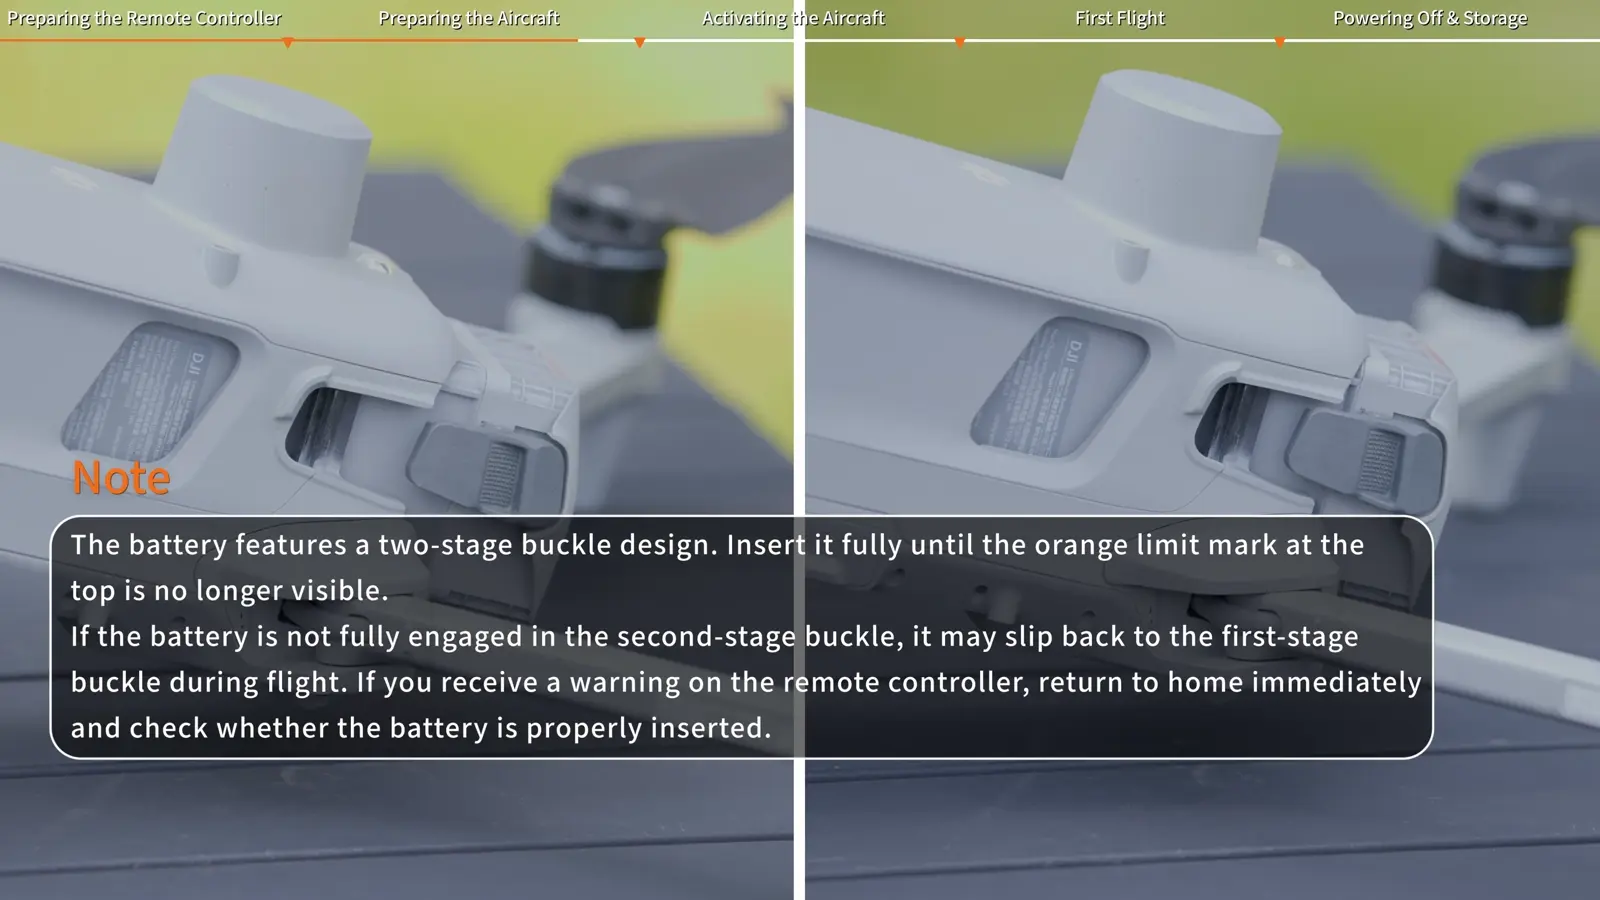
The battery has a two-stage buckle. Insert it fully until the orange limit mark at the top is hidden. DJI’s note explains that a battery short of the second-stage engagement can slip back; respond to a battery-insertion warning by returning home and checking the seating. The supplied controller is already linked to the aircraft on delivery.
- Insert the battery and confirm that its buckles are fully locked.
- Press the aircraft power button once, then hold it for three seconds.
- Follow the activation page in DJI Pilot 2: review the terms, device-information authorization and usage scenario.
- Confirm the activation account and tap Activate.
Enter camera view and complete the first flight
Tap Enter Camera View and work through the preflight prompt. DJI demonstrates the pilot standing at least five metres away, facing the aircraft's rear. That orientation makes the initial relationship between stick input and aircraft movement easier to learn.
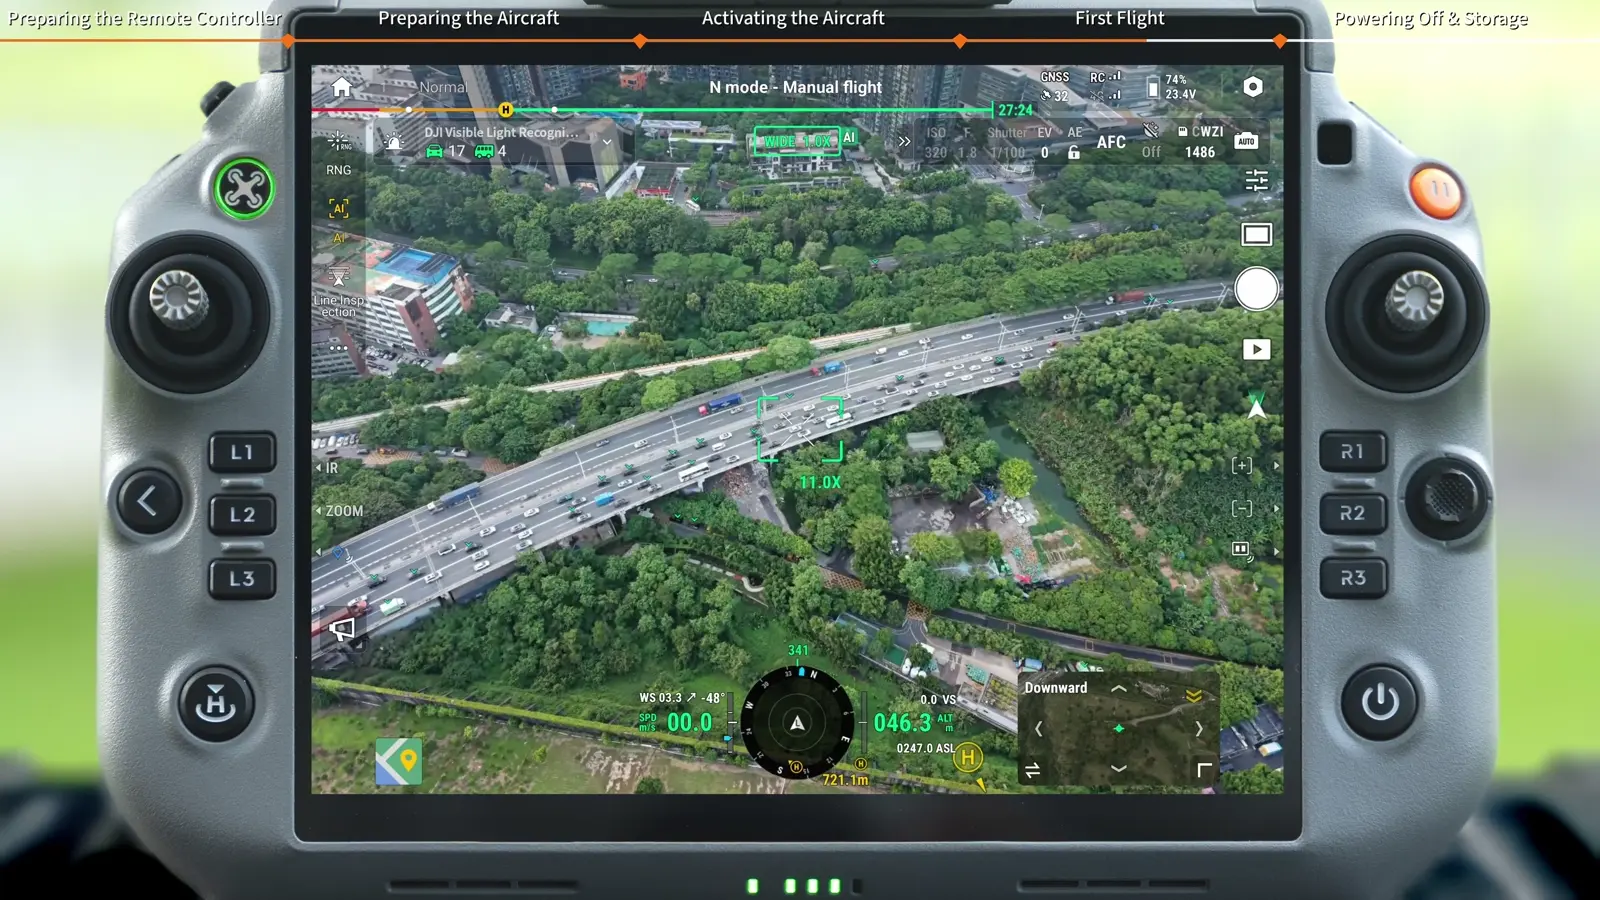
Use the first flight to observe the displayed distance, altitude and speed while making small, deliberate movements. For a new crew, separate the initial handling exercise from detailed camera work: establish predictable aircraft control first, then add the imaging tasks in the camera guide.
- Review the preflight information before takeoff.
- Maintain the demonstrated five-metre separation and rear-facing orientation at launch.
- Practise controlled movement while checking the flight information in the camera view.
Return, land and stop the motors
Press and hold the Return-to-Home button to initiate RTH. The tutorial also explains cancelling RTH and landing manually in a complex environment. Treat the landing as an active part of the flight: watch the approach, touchdown and motor stop rather than ending the procedure when the aircraft reaches the home area.
- Initiate RTH with a press-and-hold when using the return workflow.
- Manage the approach and use manual landing where the environment calls for it.
- After touchdown, hold the left throttle stick fully down until the motors stop, then release it.
Power down and restore the transport configuration
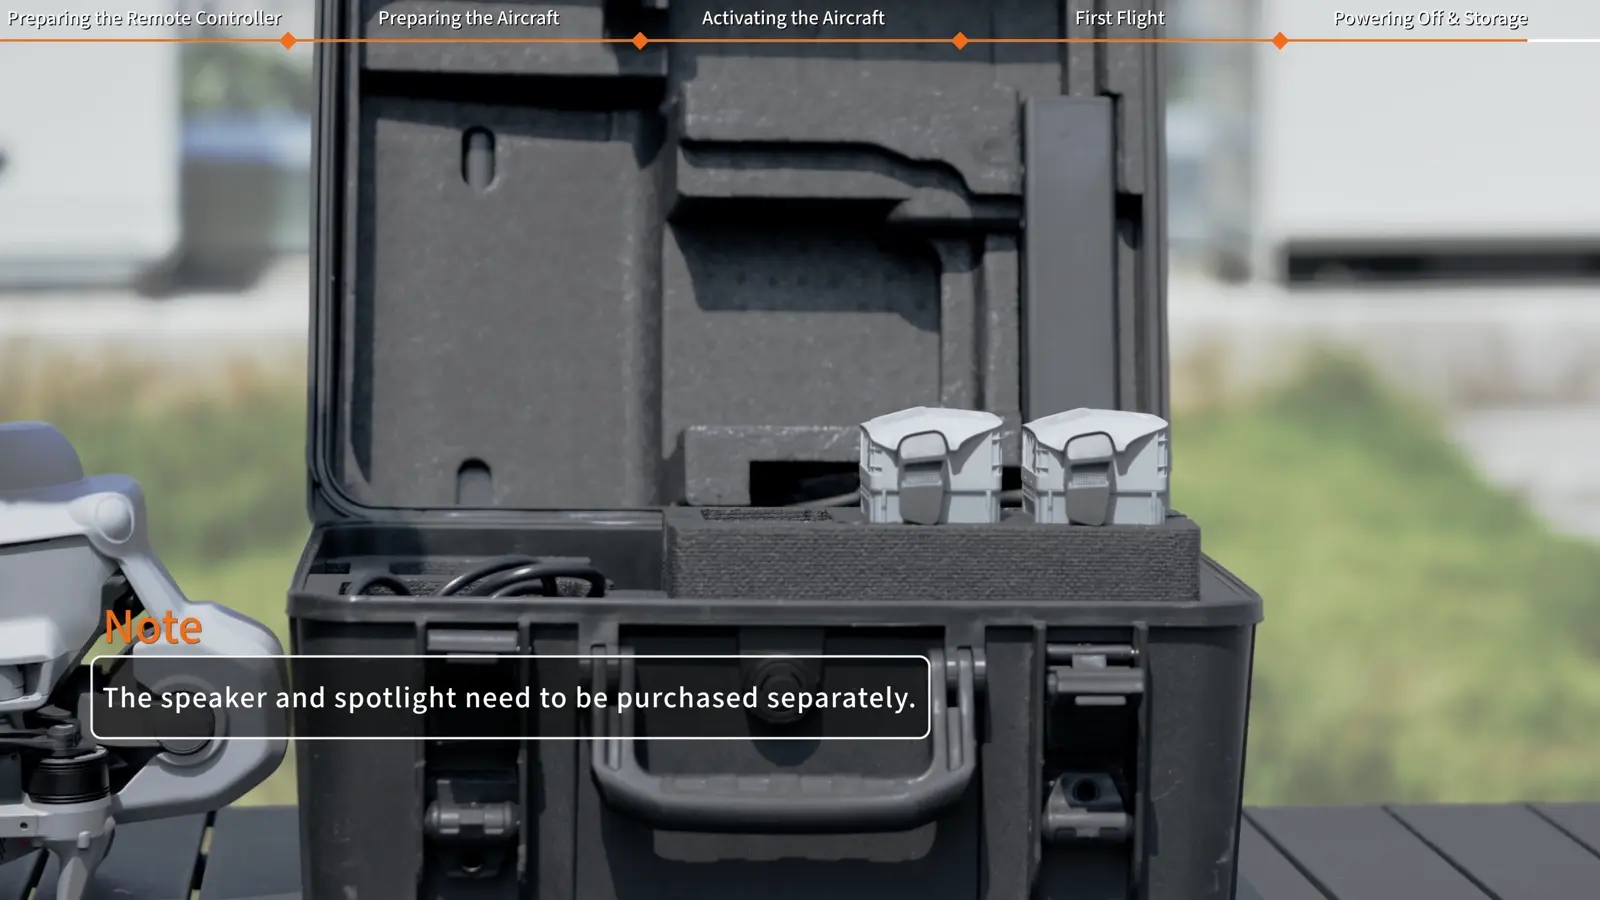
Power down the aircraft first and then the controller, using a single press followed by a three-second hold. Fold the arms, refit the protector over the gimbal and top LiDAR, and secure the strap. The case arrangement shown accommodates the aircraft with both the speaker and spotlight fitted.
A consistent pack-down sequence helps the next operator recognize a complete kit. Make a final visual check of the controller, aircraft, protector and charging equipment before closing the case.
- Switch off the aircraft, then the controller.
- Fold the rear arms first, then the front arms. Fit the gimbal/LiDAR protector with the camera lens facing forward.
- Secure the strap and place the aircraft and controller in the case.
Your session checklist
Use these points to review the workflow with your crew.
- Controller awakened and powered on
- Gimbal protector removed; arms unfolded
- A/B propellers matched and locked
- Battery buckles locked; activation completed
- Preflight prompt reviewed
- Touchdown and motor stop completed before power-down
Questions & answers
Why does the controller need a charger before first use?
DJI ships the controller in hibernation. Connect it to a charger with a USB-C to USB-C cable to wake it, then use the normal press-once-and-hold power sequence.
How do I identify Matrice 5T A and B propellers?
The A propeller has a grey circle at its centre and matches a motor with a grey arc. The B propeller has no circle and matches a motor without that arc.
Can the case hold the aircraft with AL2 and AS2 installed?
The first-use video shows the transport case accommodating the aircraft with both the spotlight and speaker installed.
Video transcript
Read the complete transcript
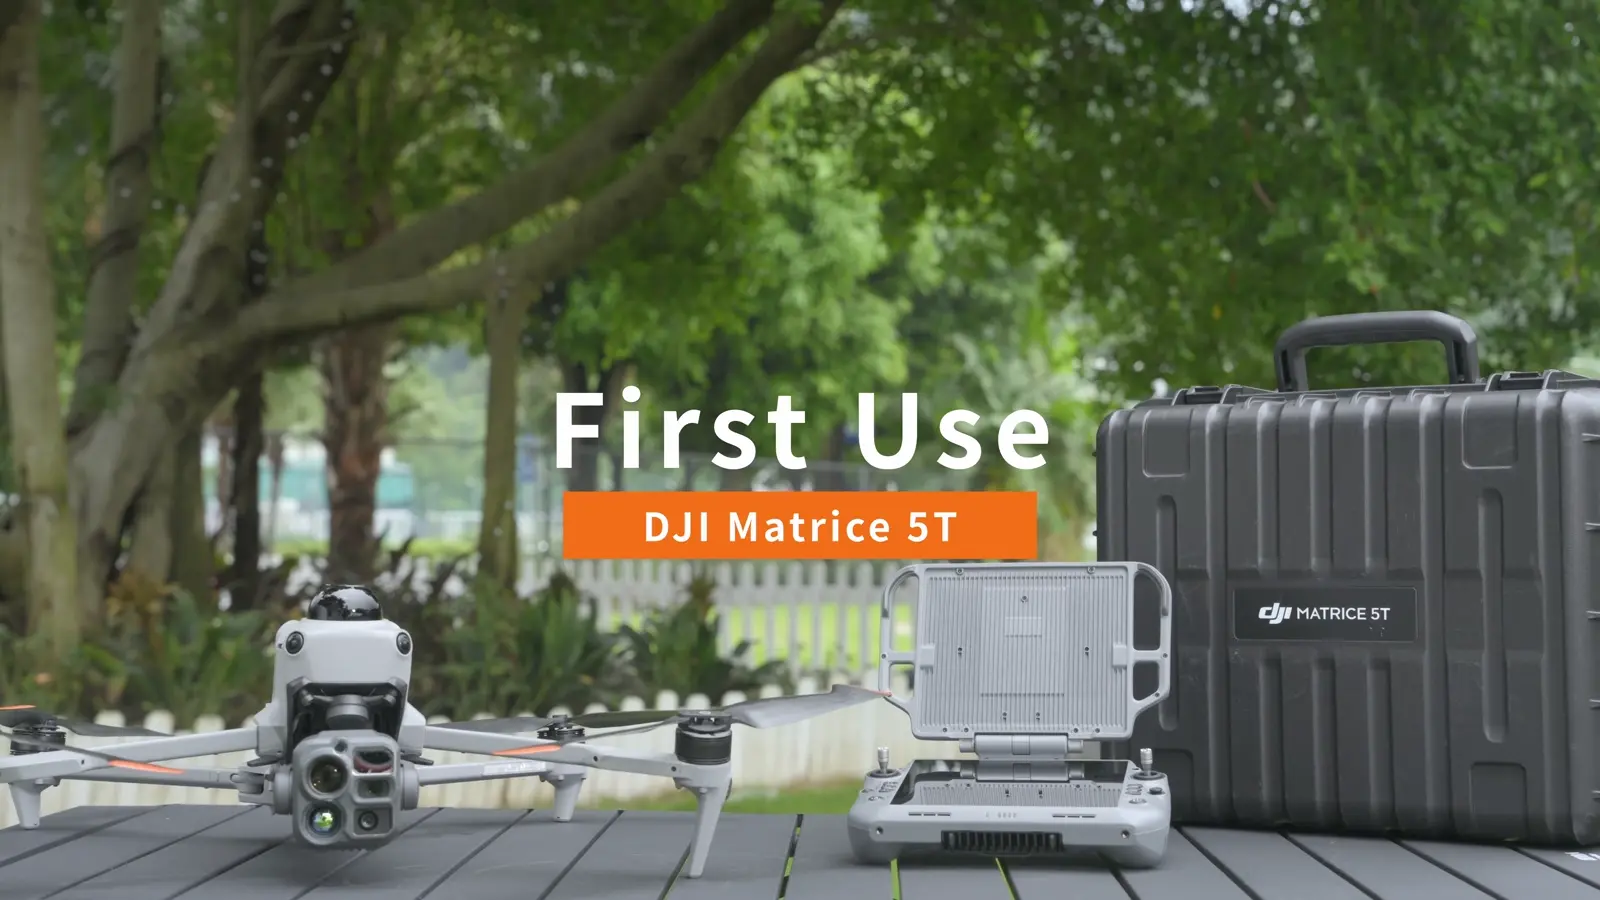
Welcome to our tutorial video for DJI Matrice 5T
where we will show you how to set up your DJI Matrice 5T aircraft for first use
The remote controller is in hibernation mode upon delivery
Before use
connect the remote controller to the charger with the USB-C to USB-C cable and charge it to wake it up
Press the power button once
then press and hold it for three seconds to power on the remote controller
Open the cover at the upper right of the remote controller to insert or remove the microSD card and SIM card
Unfasten the hook-and-loop strap on the gimbal protector
gently pull the upper part of the protector to detach it from the aircraft
and then remove the gimbal protector
Unfold the aircraft arms in turn
The DJI Matrice 5T aircraft has A/B motors and A/B propellers
Propeller A
with a gray circle at its center
should be mounted on Motor A
which has a gray arc on the outer edge of its propeller mount
Propeller B
without a gray circle at its center
should be mounted on Motor B
which has no gray arc on the outer edge of its propeller mount
Press the propeller all the way down into the mount
then rotate it in the locking direction until it pops up and locks in place
For first-time use
insert the Intelligent Flight Battery into the aircraft while the battery is powered off
Make sure to push the battery in until the buckles are fully locked
An improperly installed battery may cause poor contact and pose a safety risk
Press the power button once
then press and hold it for three seconds to power the aircraft on or off
launch the DJI Pilot 2 App
An activation page will automatically pop up in the App
Read the terms of use
authorize the device information
select the usage scenario
confirm the activation account information
and tap "Activate" to complete activation
Run DJI Pilot 2
tap "Enter Camera View"
and complete the preflight check as prompted in the App
Before takeoff
keep a safe distance of at least 5 meters from the aircraft and face its rear
After takeoff
the flight distance
altitude, speed
and other parameters will be displayed in real time in the camera view
You can press and hold the RTH button on the remote controller to initiate Return to Home
If the flight environment is complex
you can cancel RTH during the return and land the aircraft manually
After landing
pull the left throttle stick all the way down and wait for the motors to stop completely before releasing the stick
Press the power button once
then press and hold it for three seconds to power off the aircraft and then the remote controller
Fold the aircraft arms
Attach the gimbal protector
Place the protector over the gimbal and the top-mounted LiDAR
then tighten the strap
Place the aircraft and the remote controller into the carrying case
The carrying case can accommodate the aircraft even when both the speaker and spotlight are installed
Thank you for watching