
Watch the complete tutorial
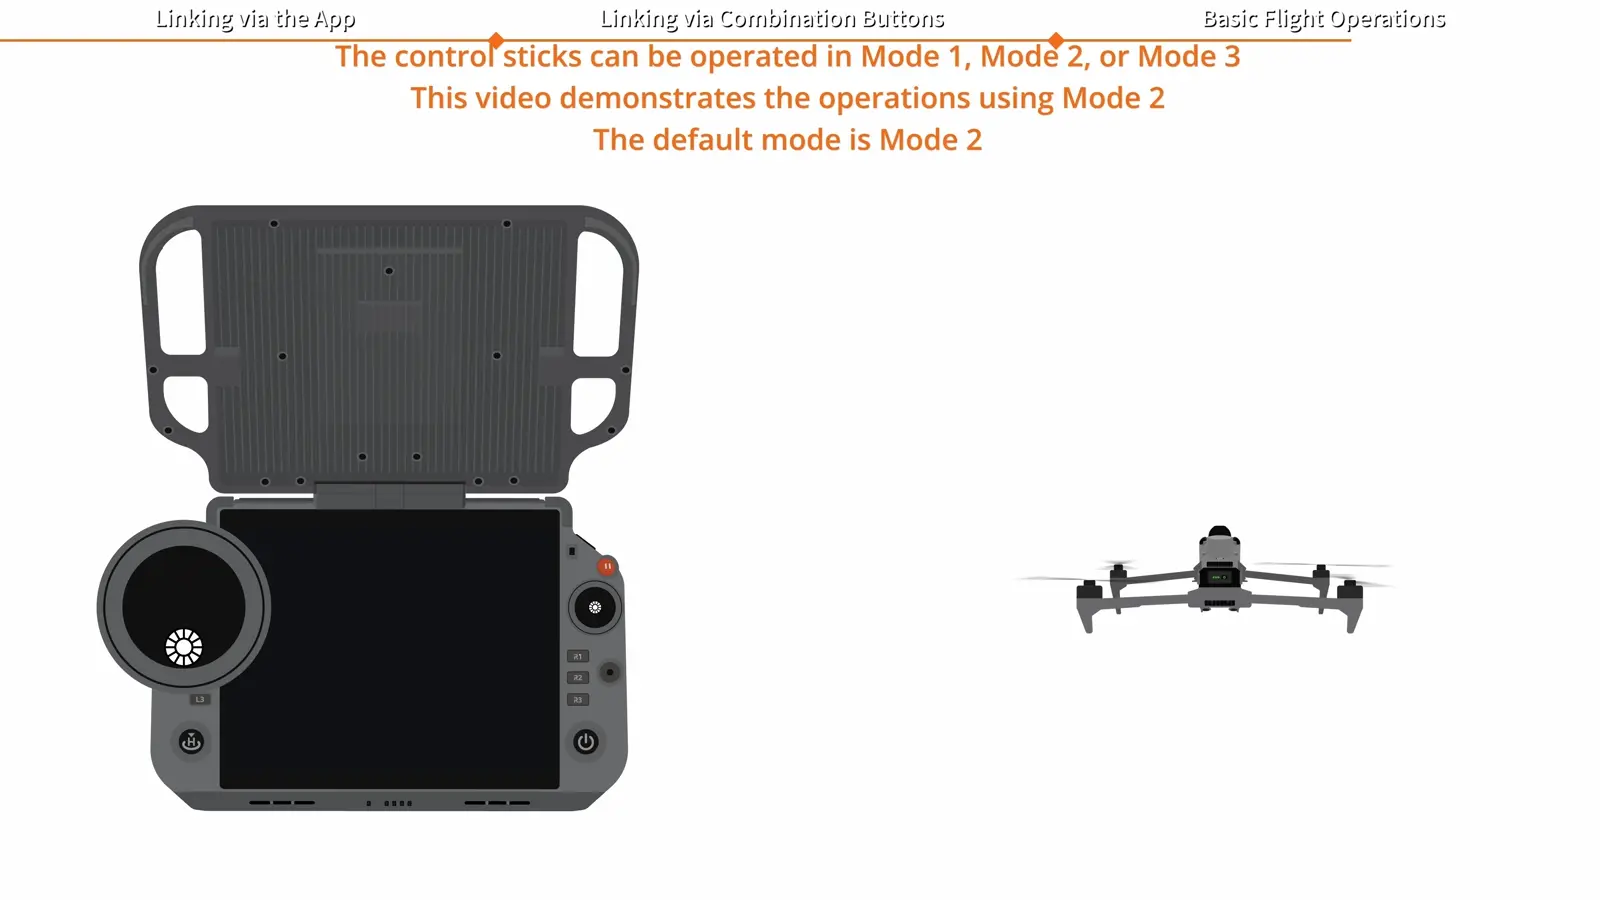
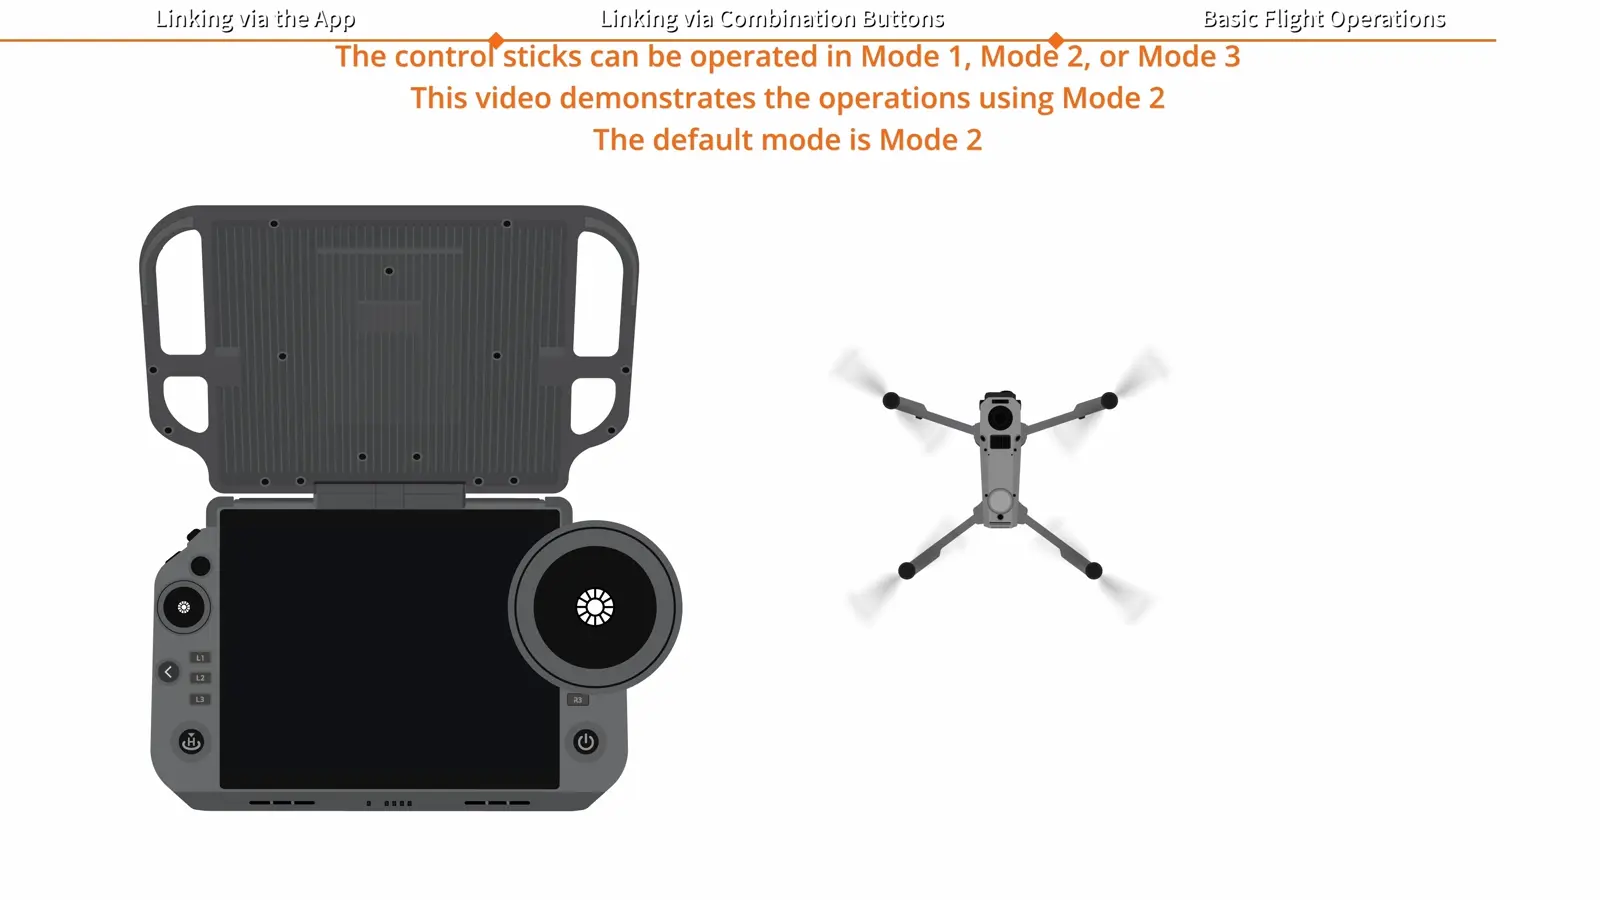
Mode 2 controls at a glance
| Control | Input | Aircraft response |
|---|---|---|
| Left stick | Forward / backward | Ascend / descend |
| Left stick | Left / right | Yaw left / yaw right |
| Right stick | Forward / backward | Move forward / backward |
| Right stick | Left / right | Move sideways left / right |
| Flight Pause | Press once | Brake and hover |
Link through DJI Pilot 2
Power on the aircraft and controller before starting. The controller and aircraft use different indicator patterns during linking, which makes it useful to check both ends of the connection rather than relying on one screen alone.
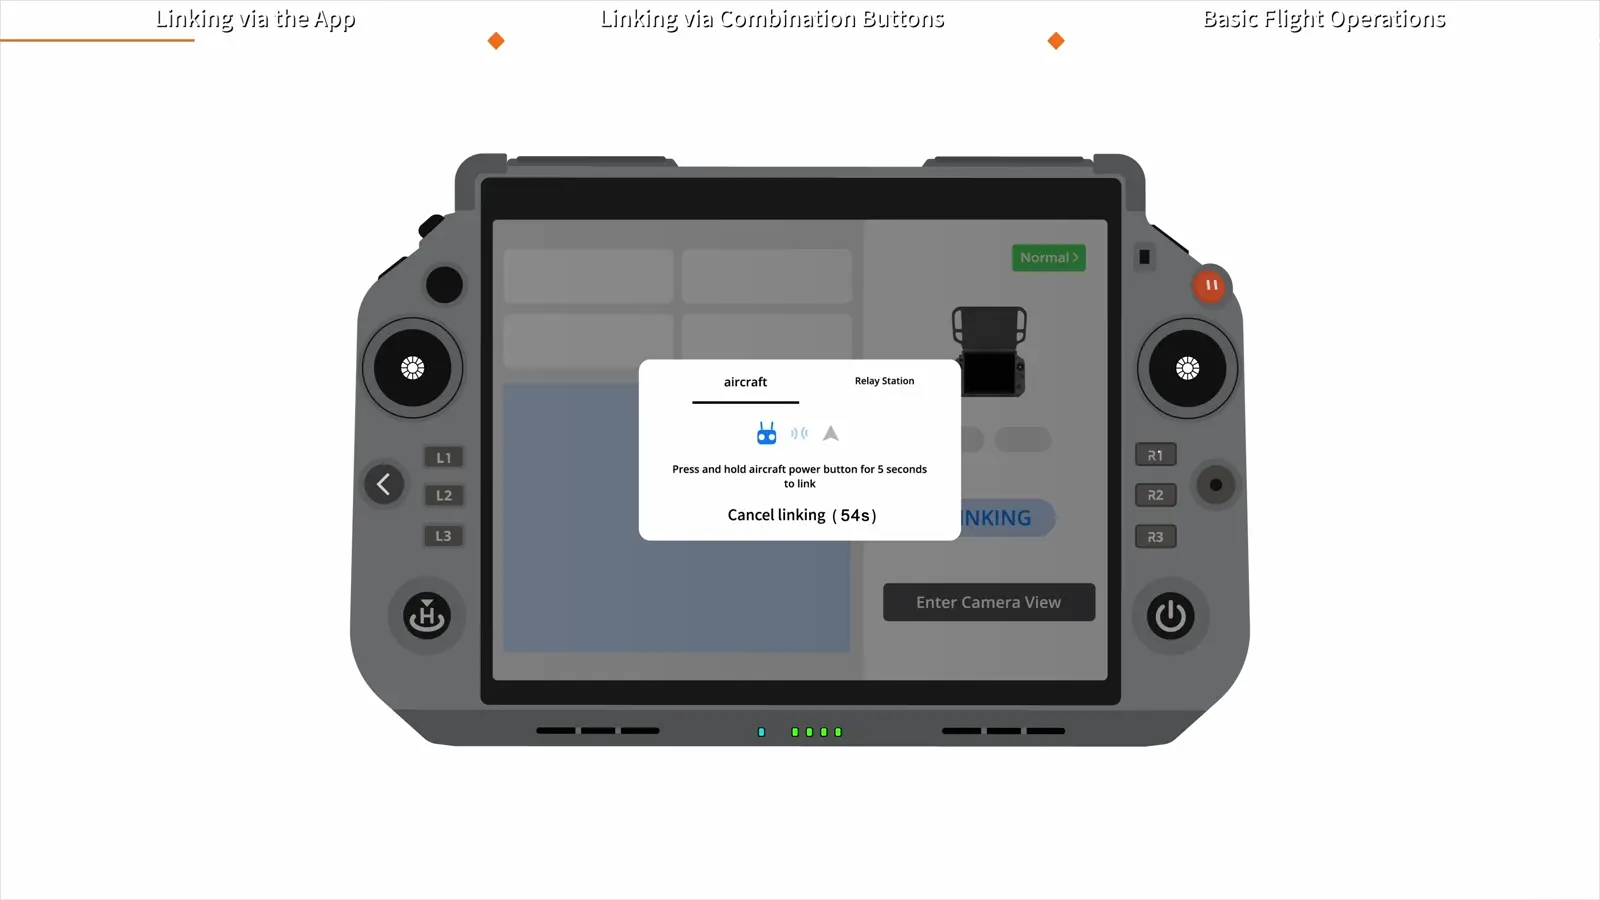
- Tap Linking on the app homepage.
- Confirm the controller beeps and its status indicator flashes blue.
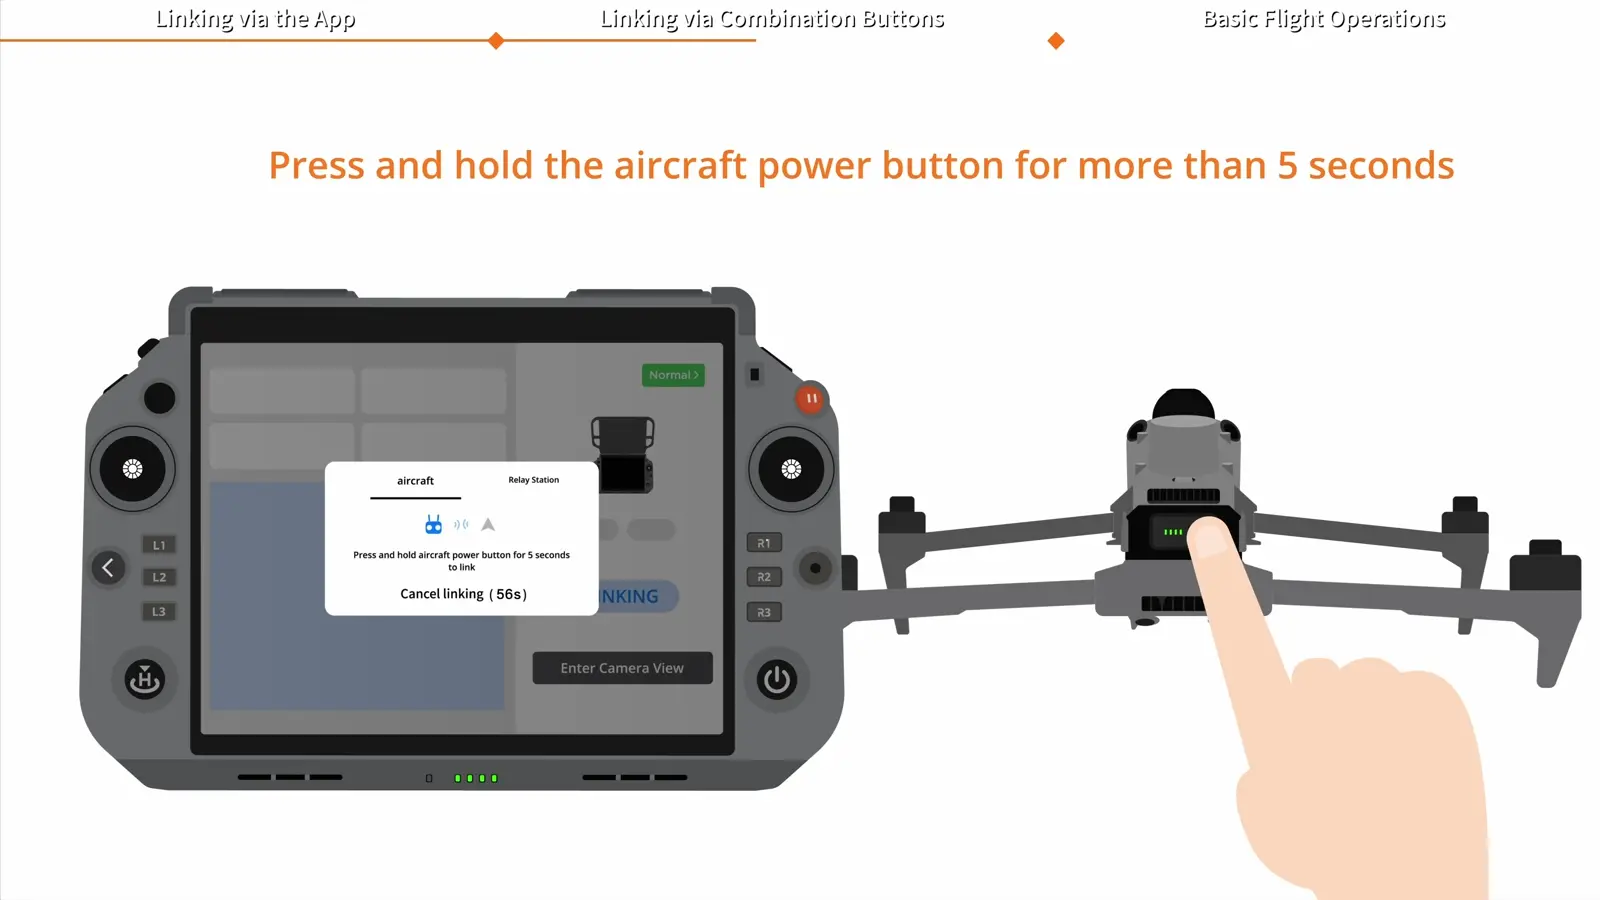
- Hold the aircraft power button for at least five seconds; release it after the beep.
- Confirm the aircraft power indicator flashes green.
- Wait for Linking Complete and for the controller to stop beeping.
Use the controller-button shortcut
The physical-button method enters the same linking workflow without starting from the homepage control. This is useful to know when setting up a controller with a different aircraft, but the completion check remains the same.
- Press C1, C2 and Record at the same time.
- Confirm the controller beeps and flashes blue.
- Hold the aircraft power button for at least five seconds and release after the beep.
- Look for Linking Complete and the end of the controller's beeping.
Position the antennas and prepare the launch
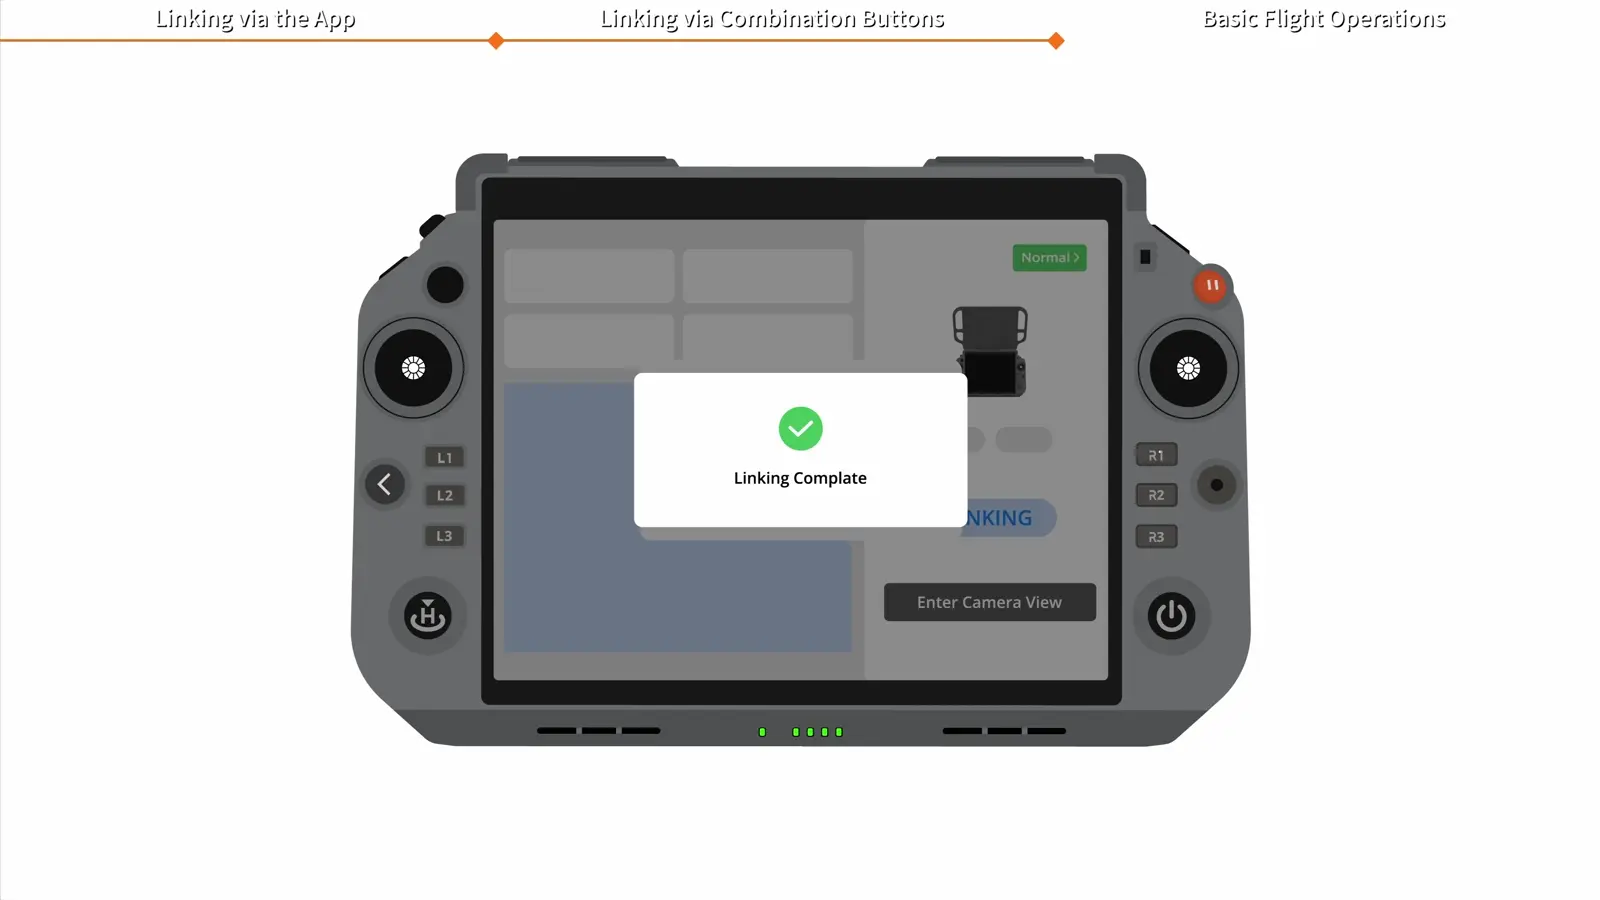
Unfold and orient the controller antennas as demonstrated. Before starting the motors, DJI places the pilot at least five metres from the aircraft and facing its rear. Review the control layout before launch so a stick movement has an expected result.
- Unfold and adjust the controller antennas.
- Stand at least five metres away, facing the rear of the aircraft.
- Start the motors using the demonstrated combination-stick command: both sticks to the inner bottom corners or both to the outer bottom corners.
- Once the propellers rotate, gently raise the left throttle stick to take off.
Learn the left-stick movements in Mode 2
In the demonstrated Mode 2 layout, the left stick combines vertical movement with yaw. Forward and backward on this stick change altitude; left and right rotate the aircraft. Yaw changes the direction the aircraft faces, which also changes how forward flight relates to the scene.
Practise these separately: make a small climb, settle, then make a small turn. This gives the operator time to connect the aircraft's movement with the input before combining axes.
- Push forward to ascend and backward to descend.
- Push left to turn left and right to turn right.
- Return to a stable position between practice inputs.
Learn the right-stick movements in Mode 2
The right stick moves the aircraft horizontally. Forward/backward moves along its heading; left/right moves it sideways. A camera looking away from the aircraft's nose can make the view less intuitive, so begin with a simple orientation and a recognizable reference point.
- Push forward to fly forward and backward to fly backward.
- Push left to move left and right to move right.
- Practise one horizontal movement at a time before combining it with yaw or altitude changes.
Practise the Flight Pause control
During flight, pressing Flight Pause once makes the aircraft brake and hover in place. Learn where this button is by touch during preparation, then include it in the familiarization exercise. The useful outcome is an operator who can identify the connected aircraft, explain each stick axis and deliberately pause a movement.
- Press Flight Pause once to brake and hover.
- Re-establish the aircraft's position and orientation before continuing the exercise.
Your session checklist
Use these points to review the workflow with your crew.
- Linking Complete displayed
- Controller antennas unfolded and oriented
- Selected control layout understood
- Left-stick altitude and yaw practised
- Right-stick horizontal movement practised
- Flight Pause location and action understood
Questions & answers
What is the Matrice 5T linking shortcut?
Press C1, C2 and Record together on the controller. Then hold the aircraft power button for at least five seconds and release after the beep.
How can I tell linking is complete?
The controller stops beeping and DJI Pilot 2 displays Linking Complete.
What does Flight Pause do?
A single press makes the aircraft brake and hover in place during flight.
Video transcript
Read the complete transcript
Welcome to our tutorial video for DJI Matrice 5T
where we will show you how to link the aircraft with the remote controller and how to set up the control stick mode
Power on the remote controller and the aircraft
On the App homepage
tap "Linking"
When the remote controller beeps and its status indicator blinks blue
the remote controller is ready to link
Press and hold the power button of the aircraft for at least five seconds and release it after hearing a beep
The power indicator blinks green
indicating that the aircraft is ready to link
When the remote controller stops beeping and the App displays "Linking Complete"
the linking is successful
Press the C1, C2
and Record buttons on the remote controller at the same time
When the remote controller beeps and its status indicator blinks blue
the remote controller is ready to link
Press and hold the power button of the aircraft for at least five seconds and release it after hearing a beep
The power indicator blinks green
indicating that the aircraft is ready to link
When the remote controller stops beeping and the App displays "Linking Complete"
the linking is successful
Unfold the remote controller antennas and adjust their position
Make sure the aircraft is always within the optimal communication range
Keep a safe distance of at least five meters from the aircraft
and operate the aircraft while facing its rear
Start the motors by pushing the left and right control sticks to the inner or outer bottom corners
After the propellers start to rotate
gently push the throttle stick upward with your left hand to take off
After takeoff
push the left stick forward to make the aircraft ascend
push it backward to make the aircraft descend
push it to the left to turn the aircraft left
push it to the right to turn the aircraft right
Push the right stick forward to move the aircraft forward
push it backward to move the aircraft backward
push it to the left to move the aircraft left
push it to the right to move the aircraft right
During flight
press the Flight Pause button once to make the aircraft brake and hover in place
Thank you for watching